Showing posts with label Modelling Progress. Show all posts

Sunday, 22 March 2015

Major Project: Cellar Progress 22/3/15

I've mainly been working on getting the Cellar environment together over the last few days. Whilst I have been modelling and UV mapping, my main focus has been establishing the lighting. 
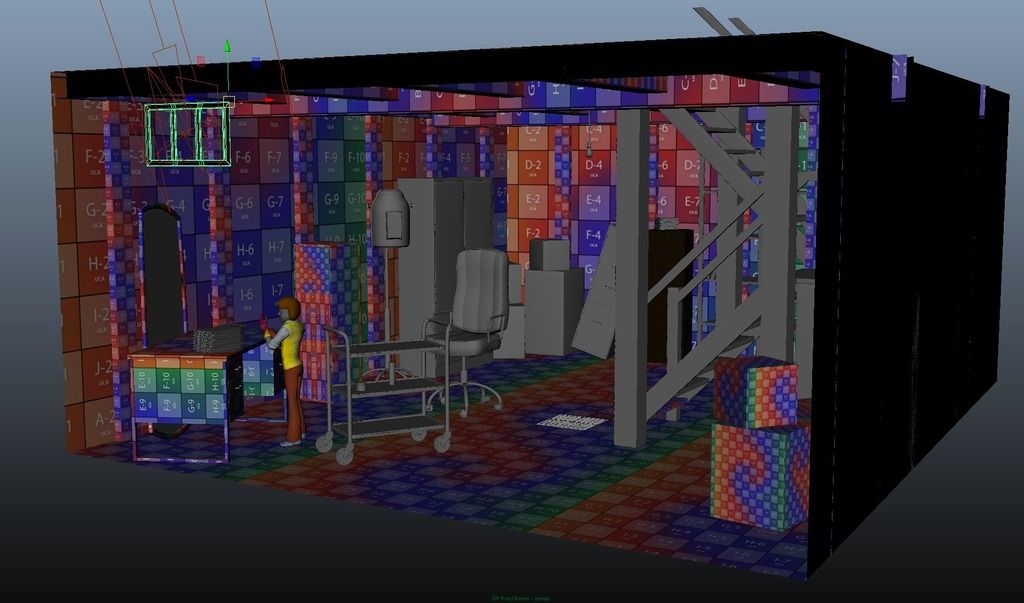
Modelling Progress So Far

Once I've figured out how the bulk of the setting is going to be lit, I can determine the elements that will require a bit more development in terms of texturing. In the above image, the key objects are already in place, it's mainly set dressing to be completed now. 

The theory is, with the lighting focused at more or less one point, certain, non-'hero' background elements will only need a simple shader applied to help them blend into, but still convincingly sell, the environment. An example of this is the cardboard boxes in the corners of the room. They fill space, suit the setting, and will only require a basic shader to define what they are.

The shelving at the back of the room is only going to be shot through from within, and it is in a portion of the room that will receive minimal light so that can probably be sold with a simple, metalling shader also.

As for the lighting itself, I've been experimenting with alternative approaches to determine the most suitable setup both practically and cinematically. 
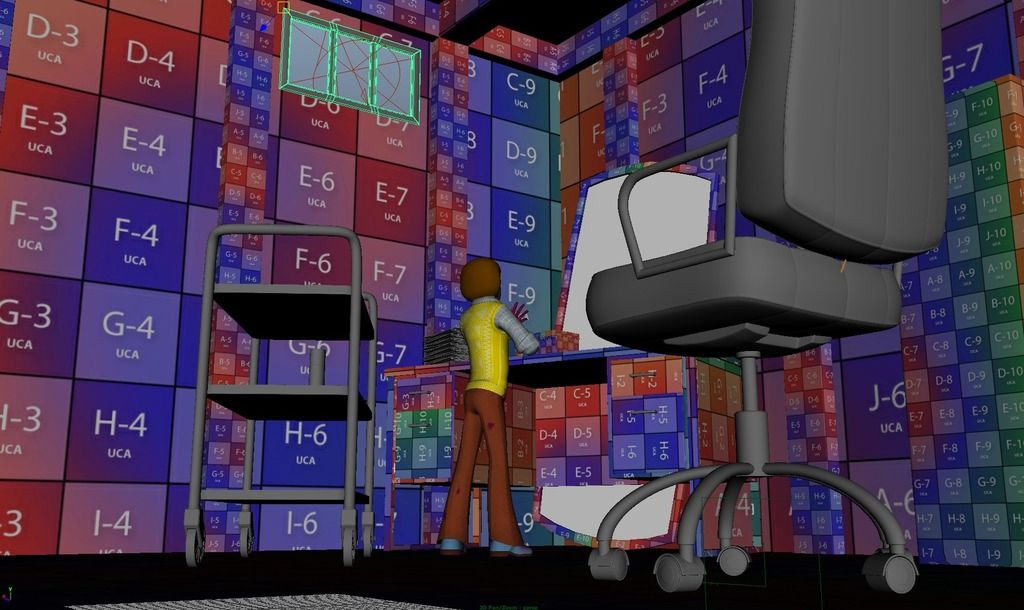
No Lighting Setup

The following setup uses a simple spotlight positioned behind the window, with the exterior glow being sold by a simple surface shader on a plane. There is a lot of flexibility with this setup, and its fairly light in terms of rendering, but in this current state, it seems a bit too artificial. 

Lighting Setup Using a Single Spotlight

This setup uses the Mental Ray Physical Sun and Sky, with a Portal Light behind the window to provide a far more natural and realistic outcome. Whilst I like how this authentically emulates how the light would respond in this scenario, it's flexibility is somewhat limited. Whilst I could employ lighting elsewhere to help direct focus around the scene, once you introduce an element of reality you're kind of committing to the rules of reality it brings along with it. Not to mention this particular method really knocks up render times with every little adjustment.

Lighting Setup Using Mental Ray Physical Sun and Sky, with a Portal Light at the Window

At this stage, both lighting setups are unrefined, however I feel as though there are aspects of both that would be beneficial. I'm going to need to tinker a bit more with both setups to achieve the sort of outcome I'm after.

Friday, 20 March 2015

Major Project: Street and Hallway Modelling Progress 20/3/15

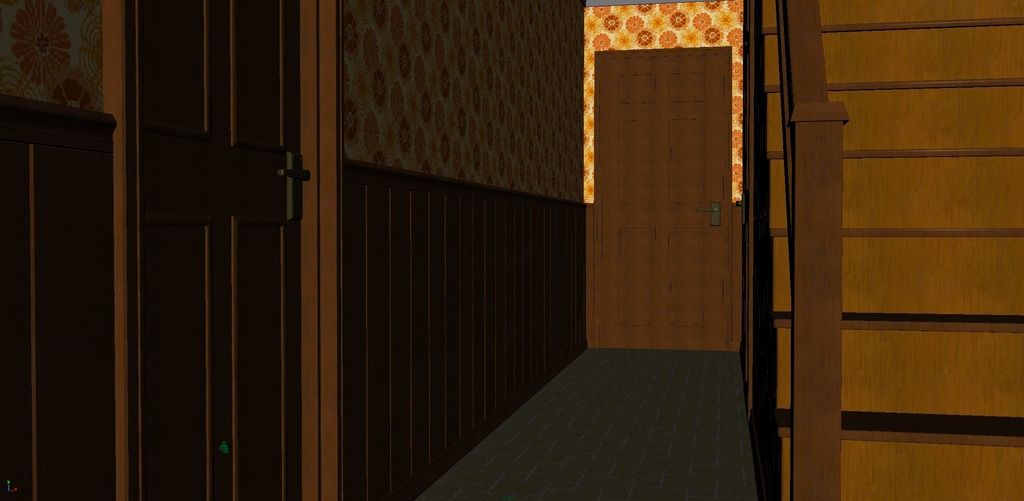
The Street and Hallway environments are more or less completely textured now, although there are still some elements that need refining, such as the garden wall in front of the house and the cleanliness of the textures needs to be disturbed to help certain areas of the building look more natural and less polished.

Originally, the walls, windows and doors were going to be unique to each house, however, in order to get animating as soon as possible, these assets will be reused for the time being. The lighting needs to be refined also. Currently, the exterior is being lit by a Mental Ray Physical Sun, with the interior being lit by a simple Point Light. They appear to be serving their purpose, however the tonality of the light needs to be adjusted to make it more in keeping with 1970s setting.

As for the Cellar environment, the modelling is 90% complete, with the major assets complete and ready to be textured. Luckily, the dark lighting in the environment allows me a certain amount of licence when it comes to the texturing of many of the background assets. I plan to be animating fairly soon, providing there are no substantial hiccups in the production progress over the next week.

House Texturing Progress

House Test Render

Hallway Texturing Progress

Monday, 9 March 2015

Major Project: Environment Modelling Progress 9/3/15

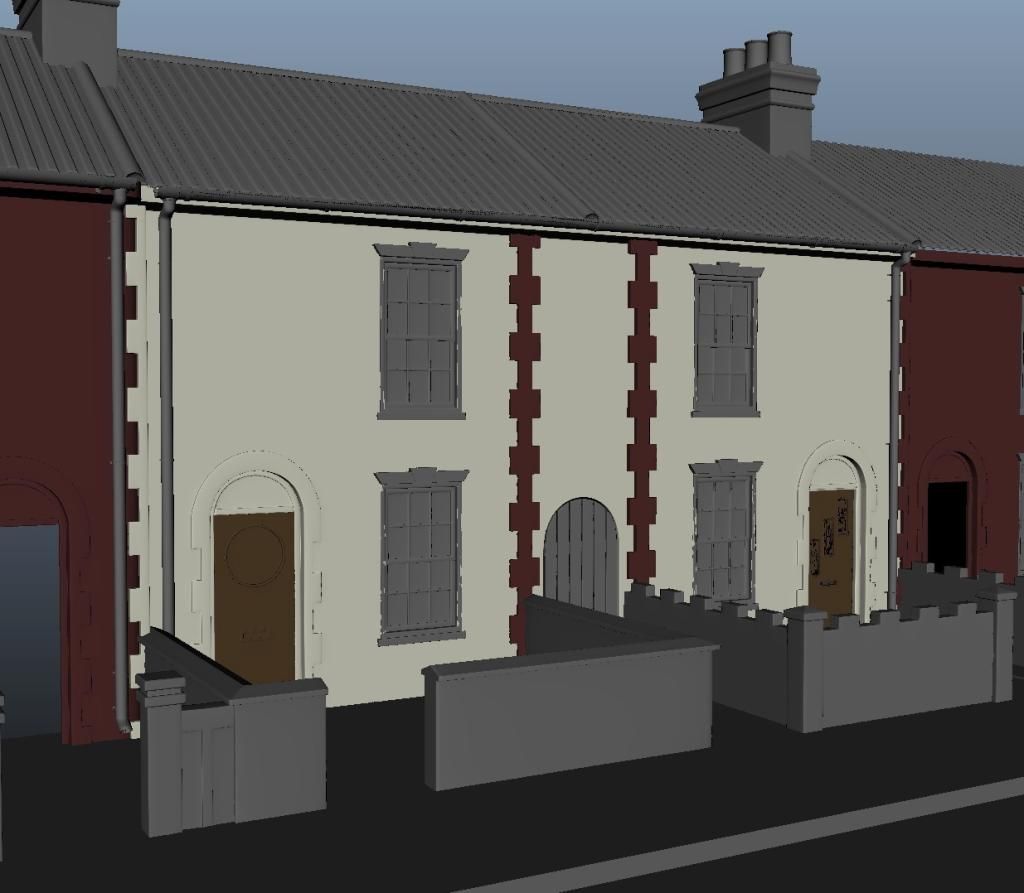
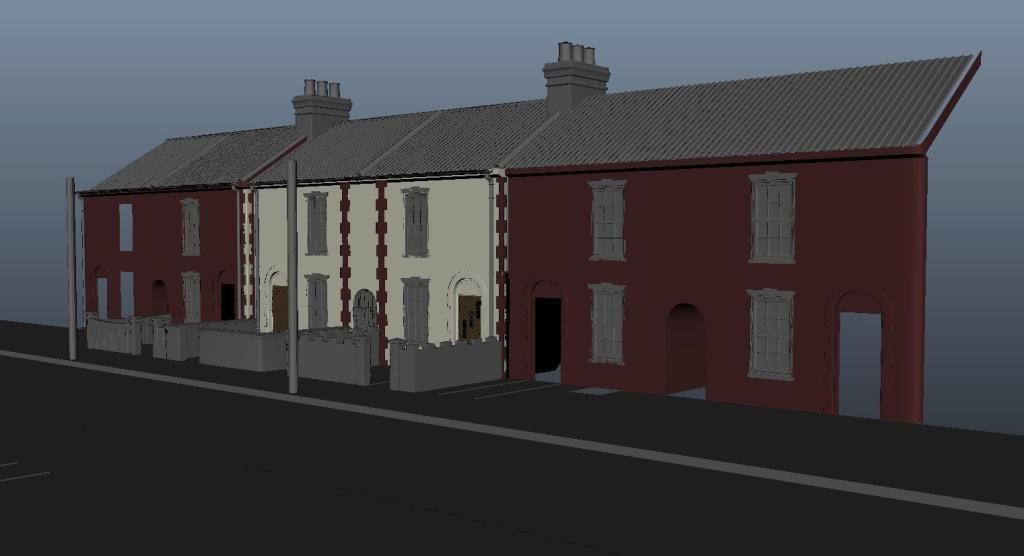
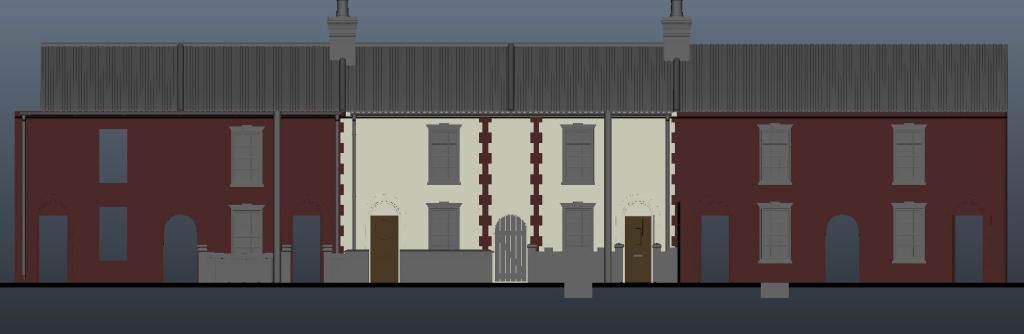
The bulk of the exterior environment is now complete. The overall appearance of these houses has been influenced by the terraced houses around Maidstone and Chatham, using Google Street View and my own photographs to determine a simple design that was reminiscent of the setting.

Once the UV mapping is complete, the houses will be tessellated to create the street. Most of the components have been UV mapped as they've been modelled, just a few smaller parts remain. 

Smaller elements of set dressing will be added once the bulk of the Cellar environment is complete, as I intend to reuse objects suitable for both environments to economise modelling somewhat (objects such as bins, plant pots, etc).

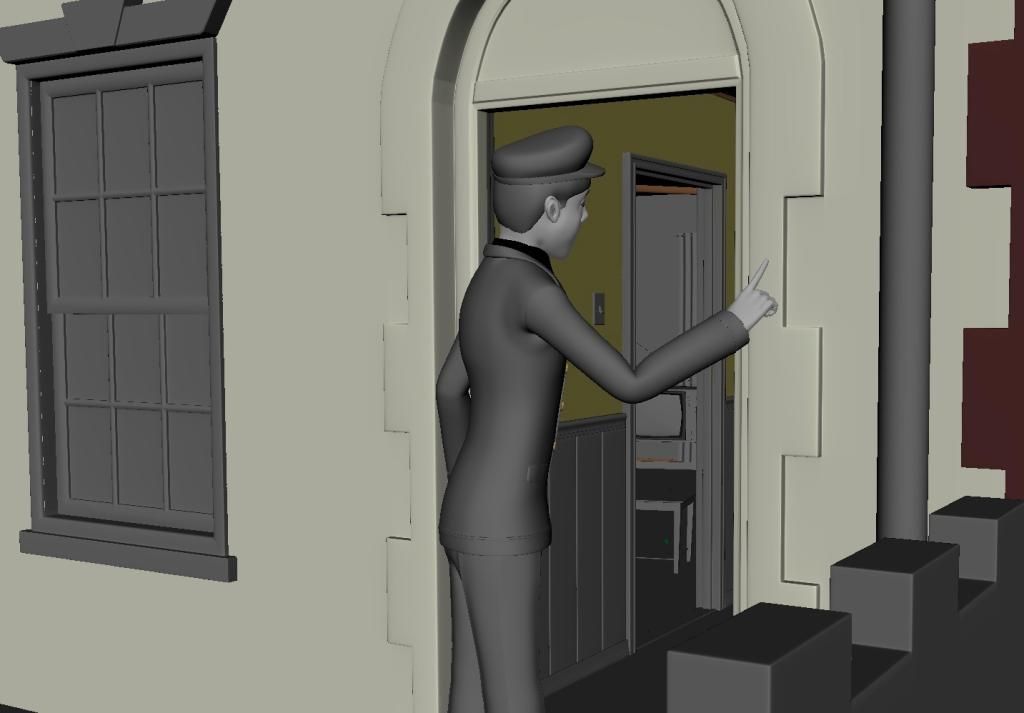
I have also connected the Hallway environment to the front door of Franklin's house, and configured the environment in a way that allows me to selectively switch portions of scenery on and off to help take the strain off of Maya when animating and rendering.

The environment looks void of any physical texture at the moment, although this will be rectified through the use of bump and displacement maps. It would be wildly impractical to model each brick and roof tiles, as well as distortion in brickwork on the garden walls, so the maps will be used to sell the texture of the environment. Only key architectural details, such as the details on the corners, have been modelled.

With the bulk of the first two environments complete, I will move onto completing the Cellar environment. All three environments will be polished and refined in unison, allowing me to texture them together.

Franklin's Home

Demonstrating How the Houses Tessellate

The Front Profile of the Houses

The Interior and Exterior Environments Connected

Thursday, 12 February 2015

Major Project: Environment Development - Hallway

Since my last post, I've been developing the various environments. 

Initially, I was planning on designing all three environments together, then modelling them. However, being that the hallway is a noticeably simpler than the Street and Cellar environments, I've chosen to model this environment ahead of schedule. This gives me a little more time to work on the more substantial scenes.

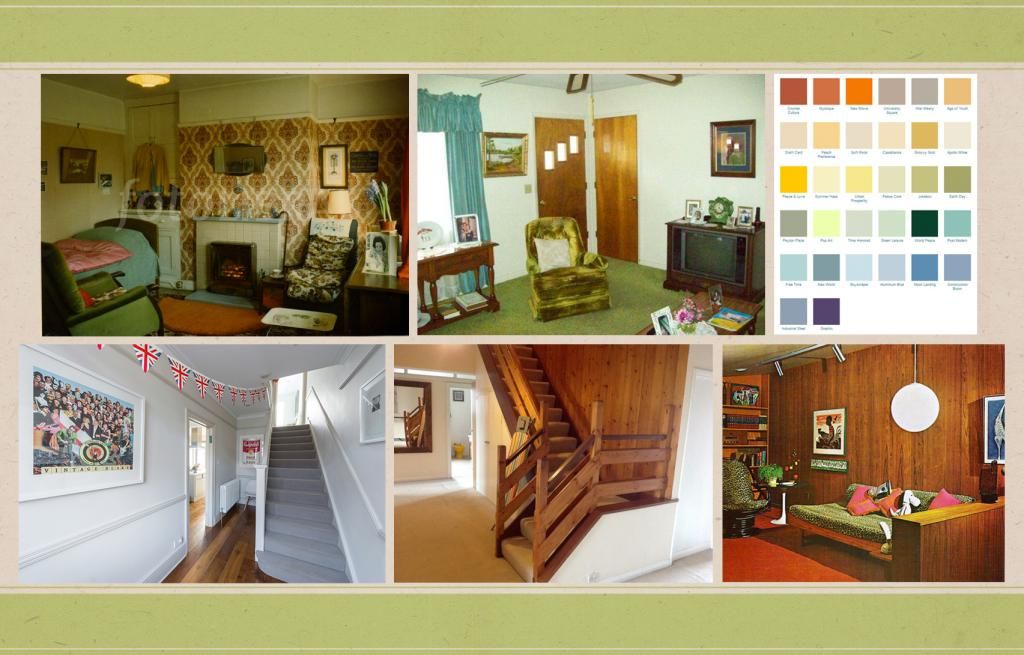
Below is a small selection of the various reference images used to inform the appearance of the Hallway environment, as well as a general 1970s colour palette used as a jumping off point.

Selected Reference Images

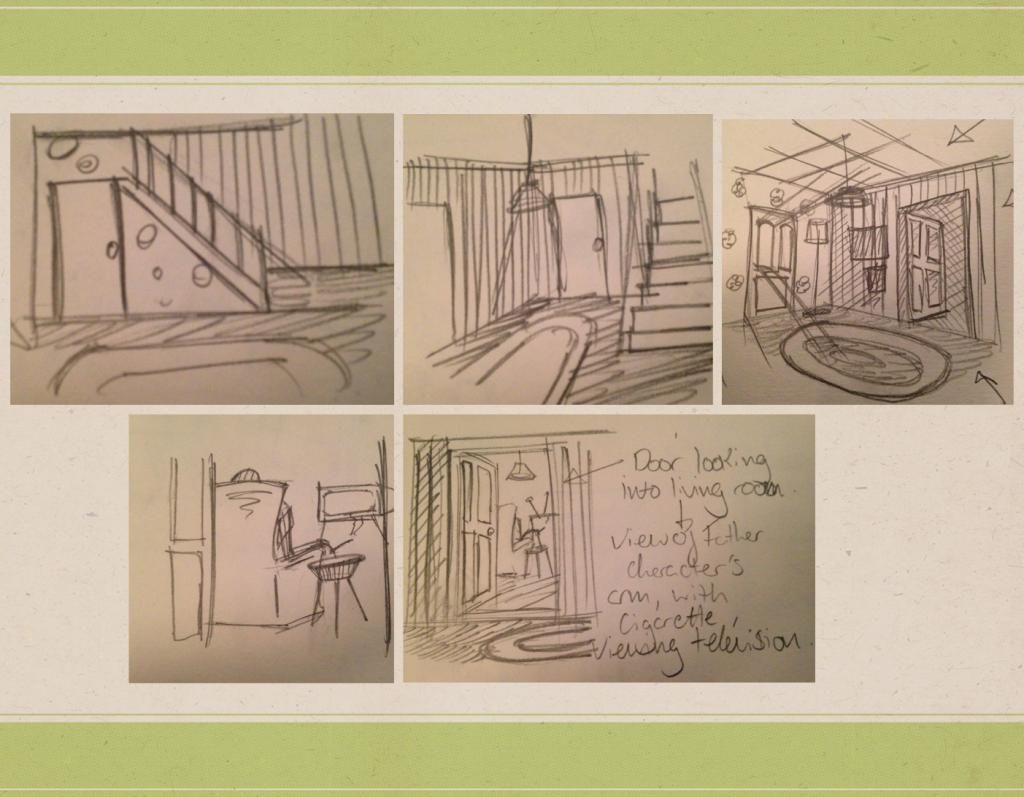
I found myself struggling to design the environments on paper before moving into 3D, so I've been developing and modelling the setting simultaneously. Sketching out thumbnails of various elements on paper, then constructing simple scale models of them in the Maya scene to determine how they fit within the scene. 

Selected Thumbnails for Hallway

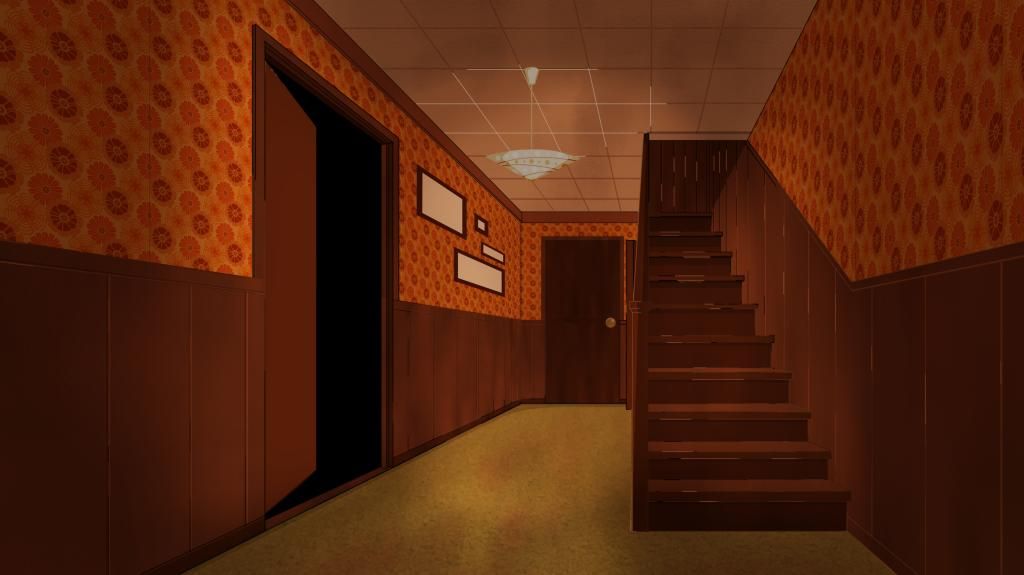
I fabricated a loose concept painting to inform the tone and use of colour of the environment. The detail is scarce, but detail was not the point of the painting.

Hallway Tonal Concept Painting

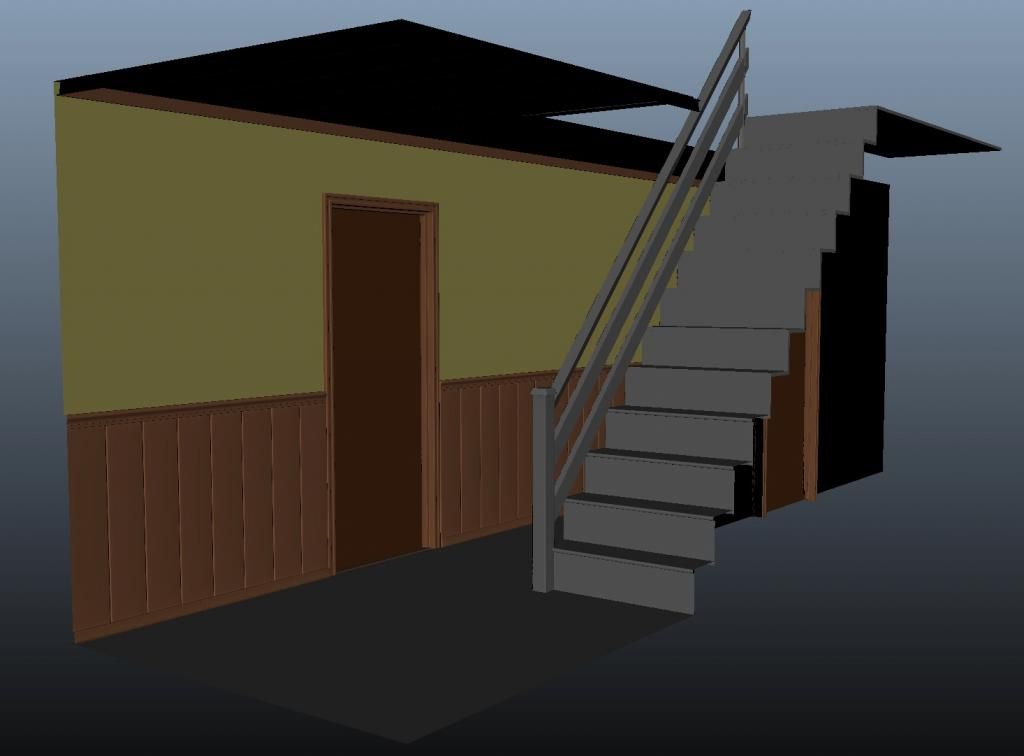
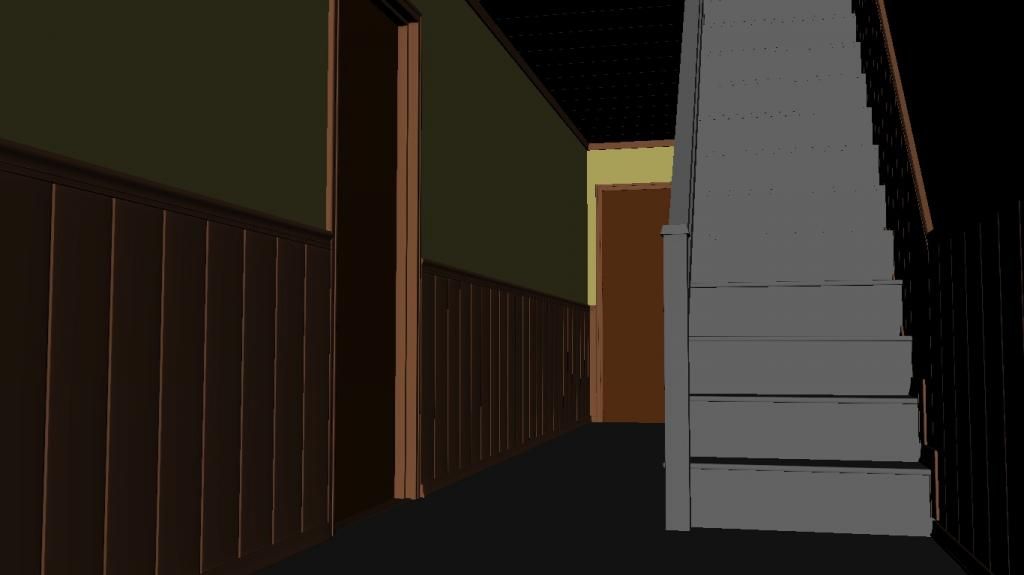
This is the current modelling progress of the environment. The various components need to be polished, although the key elements such as door placement and correct environment scale are in place.

Modelling Progress - Right Wall Collapsed

As you can see, the wainscoting reaches up the stairs, whilst the cellar door is surrounded by traditional floor to ceiling wood panelling. 

Modelling Progress - Left Wall Collapsed

Environment Staged

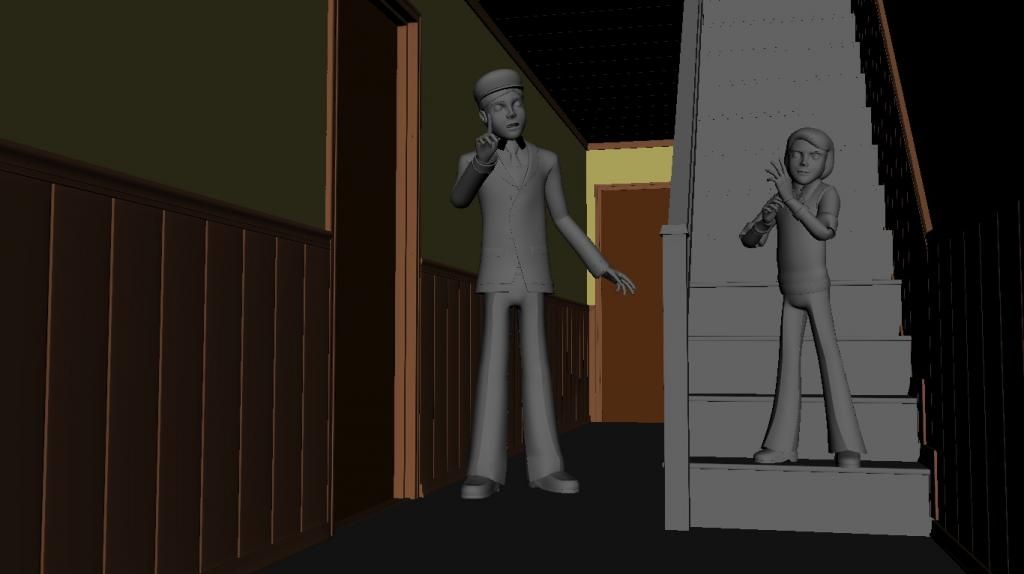
The scale of the environment is demonstrated below with the Franklin and Delivery Man character models.

Environment Staged, with Reference Character Models

Friday, 2 January 2015

Minor Project: Franklin Complete

After weeks of work, (and absent blog posts...) Franklin is finally completely modelled, rigged and textured. 


He has a full body rig, as well as a basic facial rig (phonemes, visemes and tongue control, along with blink and brow control). I may add some additional functionality during the Major Project, if I feel it is necessary for the actions he needs to carry out.

I've had something of an issue with the IKs in Franklin's legs, which I will have to fix at a later date. Adding the constraint causes the legs to rotate and buckle, so for the time being, I've had to fasten the Twist functionality to counter this effect. It appears to be present on both my character rigs (and I remember it occurring on previous projects), so I will need to repair this before I can actually animate the characters.

As for texturing, his skin uses a basic Mental Ray fast skin shader, whilst the rest of the outfit uses basic phongs, blinns and lamberts, each with appropriate bump mapping.


The Delivery Man is 90% of the way finished, he is just waiting for facial blendshapes to be added, and the texturing to be complete. The turnarounds for both characters will be ready by the end of the week.

Saturday, 13 December 2014

Minor Project: Modelling Progress - 13/12/14

The modelling for the body of the Delivery Man character is almost done now. 

The hands and shoes are on their way to being finished, although they're not pictured. The legs and tie need a bit of refinement as well, but that shouldn't take too long. 

The modelling for the body should be finished by the end of the weekend, so I can move onto modelling the head fairly soon.

As for Franklin, the skinning is about halfway done, so that should be finished sometime Sunday evening also.

Smoothed, No Wireframe

Smoothed, Wireframe

Unsmoothed, Wireframe


Thursday, 4 December 2014

Minor Project: Modelling Progress 4/12/14 - Franklin Complete and Delivery Man Progress

I've completed modelling Franklin more or less now. His teeth and tongue will be added when I get rigging.

I've also made a start on the modelling of the Delivery Man character, blocking out the general form. I plan to have the Delivery Man modelled before the Christmas break.

Franklin

3/4 Smoothed, No Wireframe

3/4 Smoothed, Wireframe

3/4 Unsmoothed,Wireframe

Delivery Man Progress

3/4 Unsmoothed, Wireframe

3/4 Smoothed, Wireframe

Monday, 1 December 2014

Minor Project; Modelling Progress 1/12/14 - Sprouting Limbs

This is my progress so far with Franklin's construction. 

The general form is there, although several details are yet to be added. I've yet to add his hands, although they'll be there soon. I think the next thing I'm going to model is his undershirt, which is mainly a collar and some buttons, as well as refinements and a bit of asymmetry on the folded and ruffled sleeves.

3/4 Smoothed, No Wireframe

3/4 Smoothed, Wireframe

3/4 Unsmoothed, Wireframe


Thursday, 27 November 2014

Minor Project: Modelling Progress 27/11/14 - Franklin's New Do

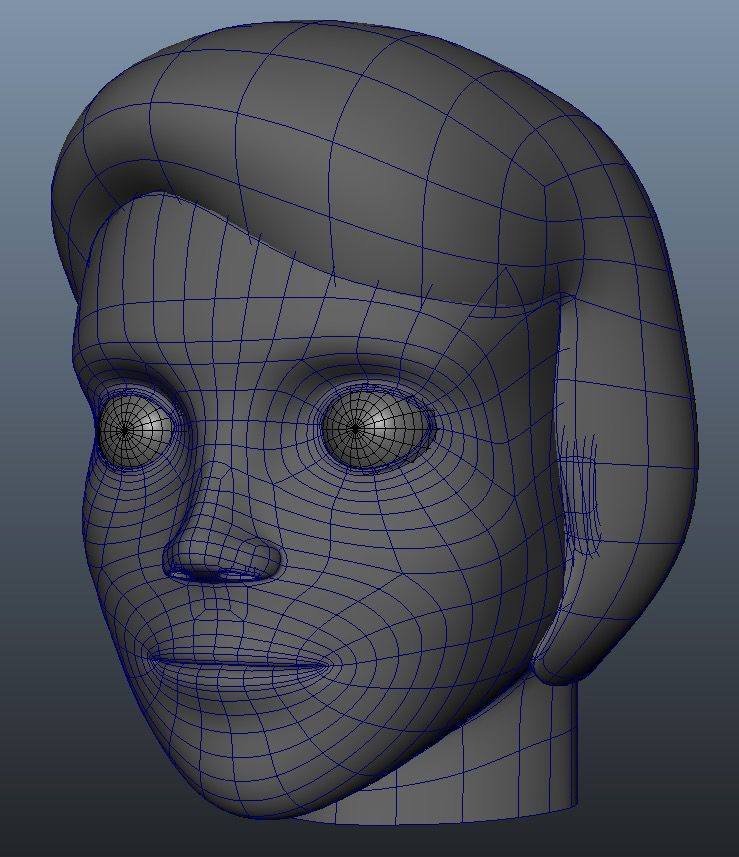
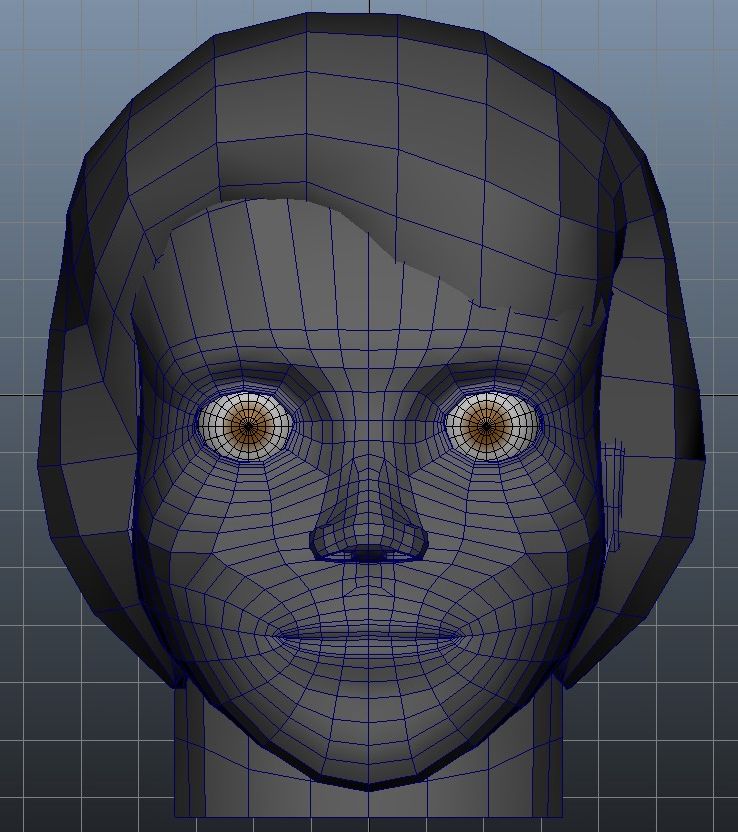
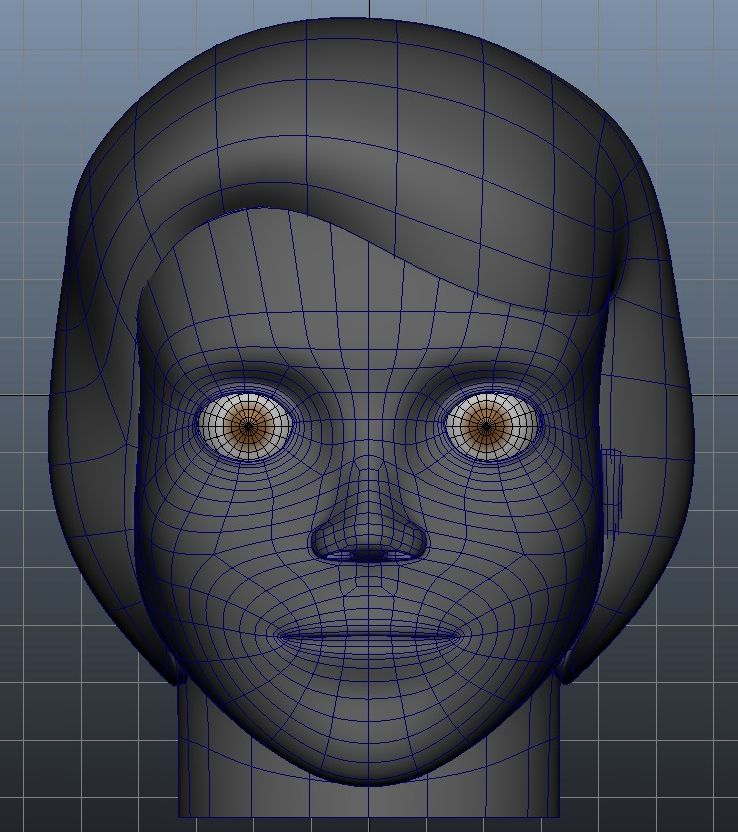
Below are a few screenshots of Franklin and his roughly modelled hair.

I've yet to include some of the details, including how the hair will interact around the ears, although this gives a rough idea of how the hair will appear overall.

3/4 Unsmoothed

3/4 Smoothed

Front Unsmoothed

Front Smoothed


Tuesday, 25 November 2014

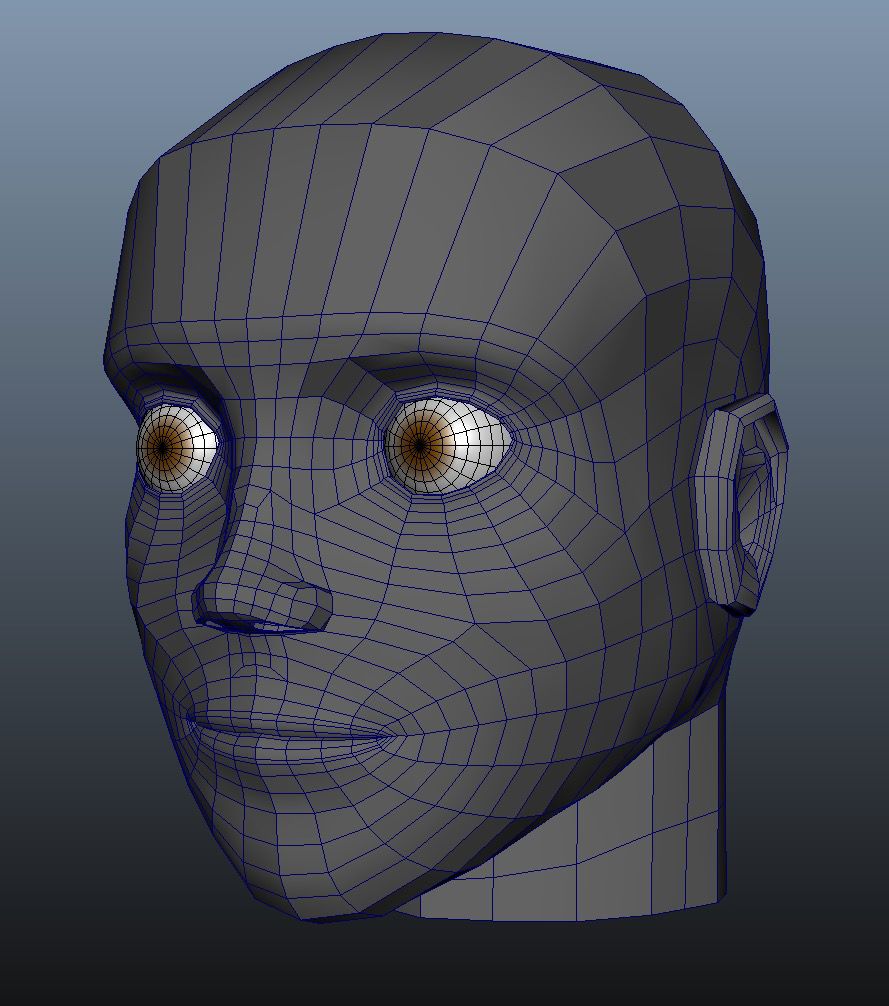
Minor Project: Modelling Progress 25/11/14 - Adding the Ears

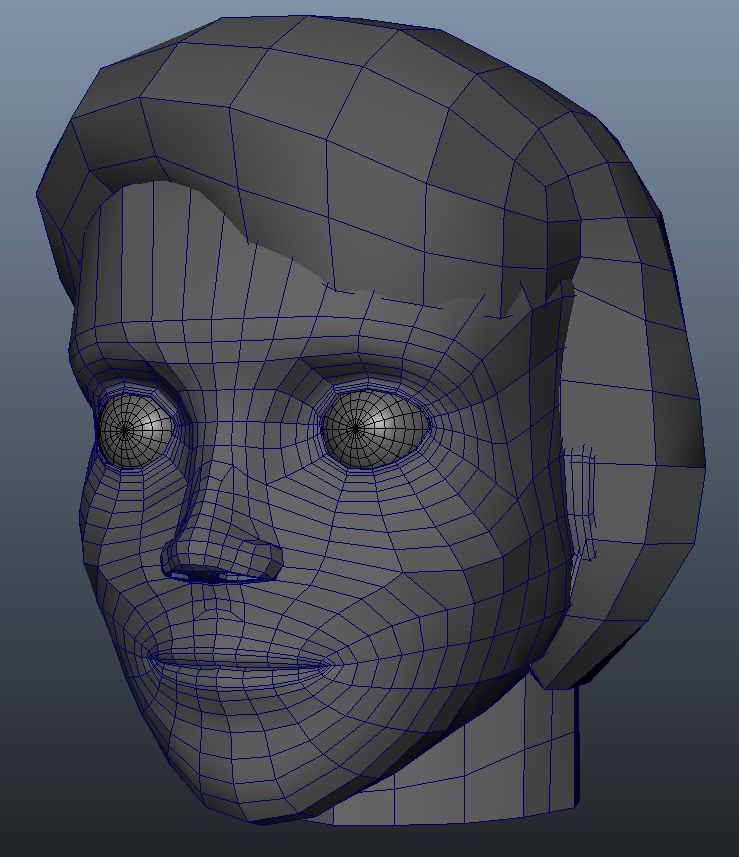
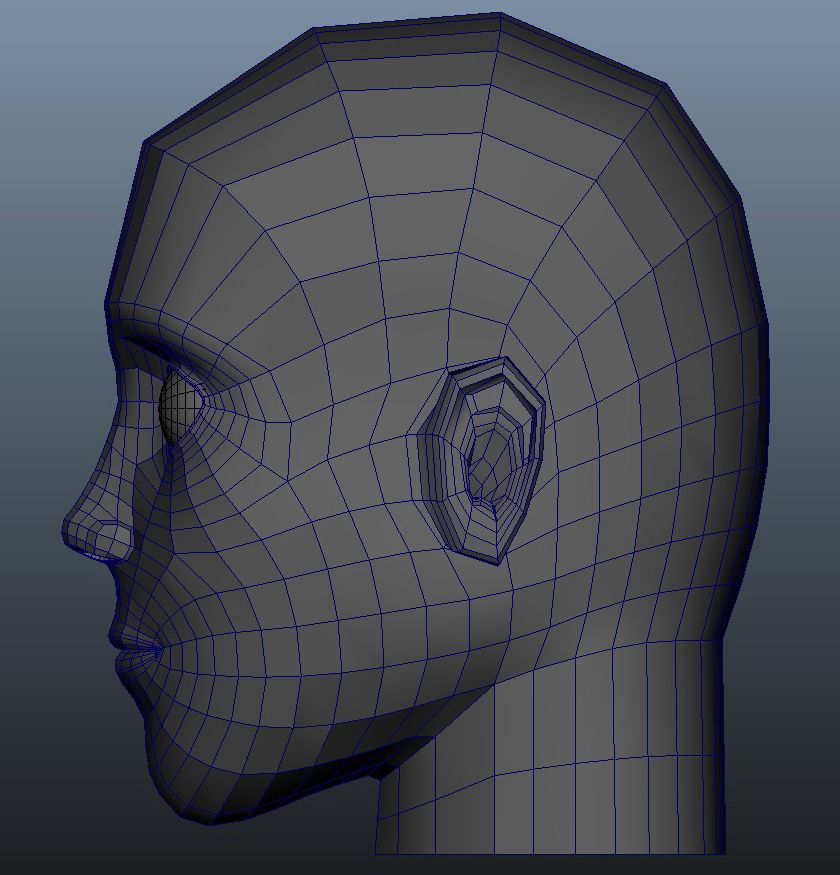
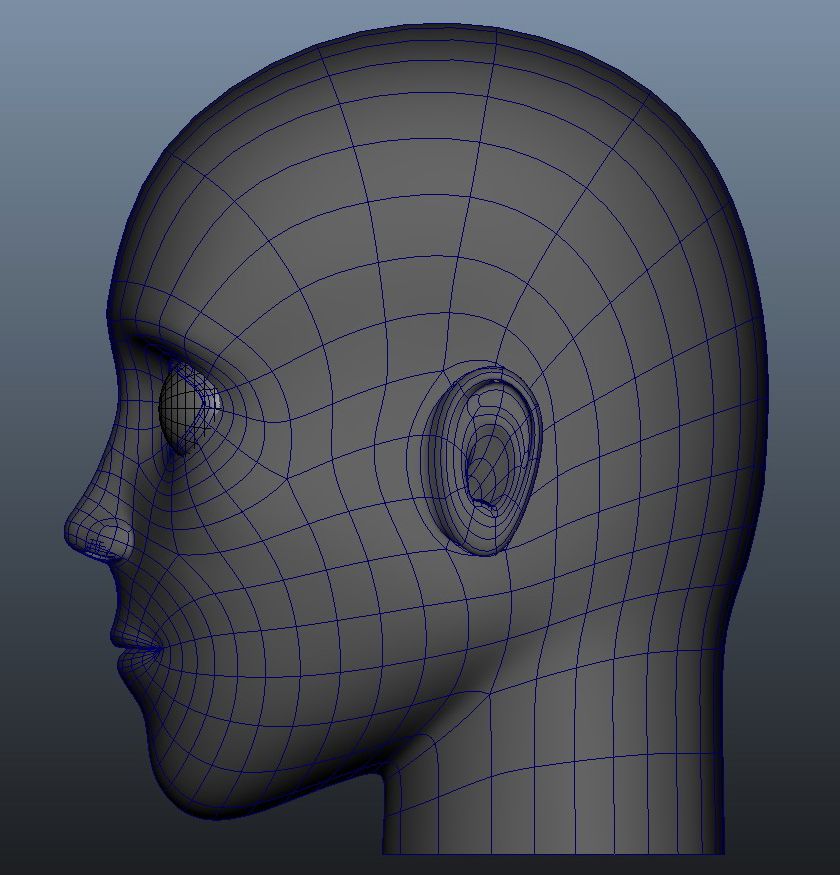
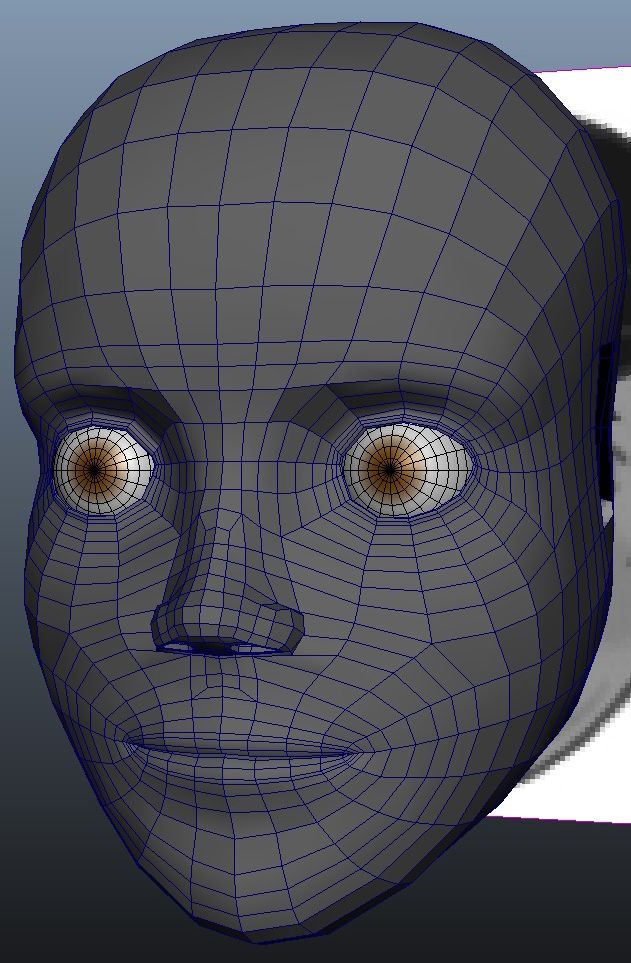
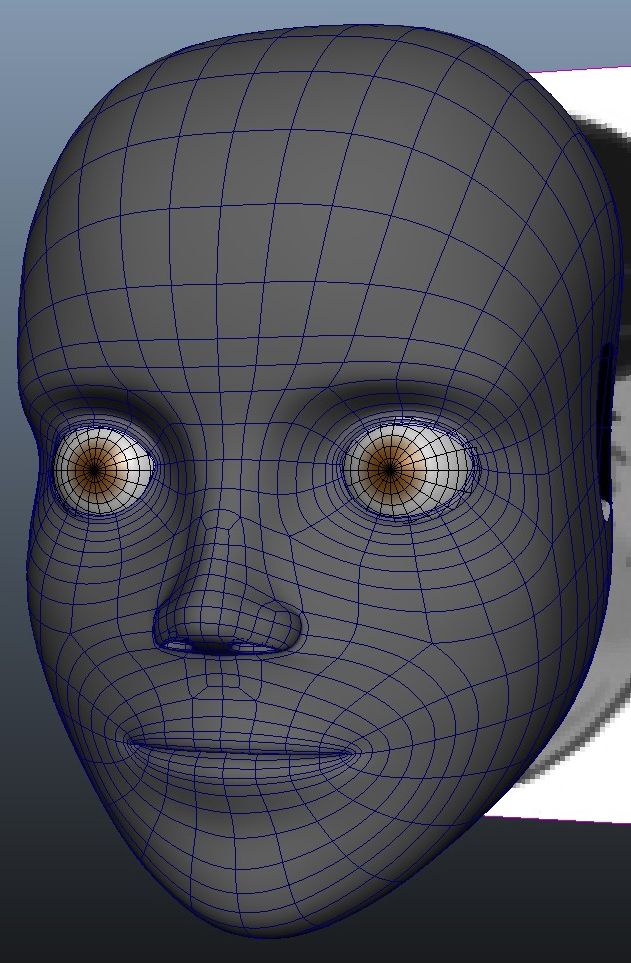
I've added Franklin's ear and neck now, as well as restructuring a lot of the geometry. 

The ear will predominantly be under hair, so I've not provided it with a huge amount of detail. Also, I've added an image of the head without the wireframe and I'm starting to worry that its all looking a little too flat. Whilst I work out how to provide the model with a bit more depth, I think I'm going to start constructing the body.

3/4 Unsmoothed

Side Unsmoothed


3/4 Smoothed

Side Smoothed

3/4 Smoothed, No Wireframe

Sunday, 23 November 2014

Minor Project: Modelling Progress 23/11/14 - A Touch of Rhinoplasty

Franklin has undergone a little facial reconstruction, coming out with a brand new nose.

It has shrunk somewhat compared to the drawing, but I think the smaller size suits the overall appearance a bit better. 

Next step is to tidy up the geometry and graft on some ears. 
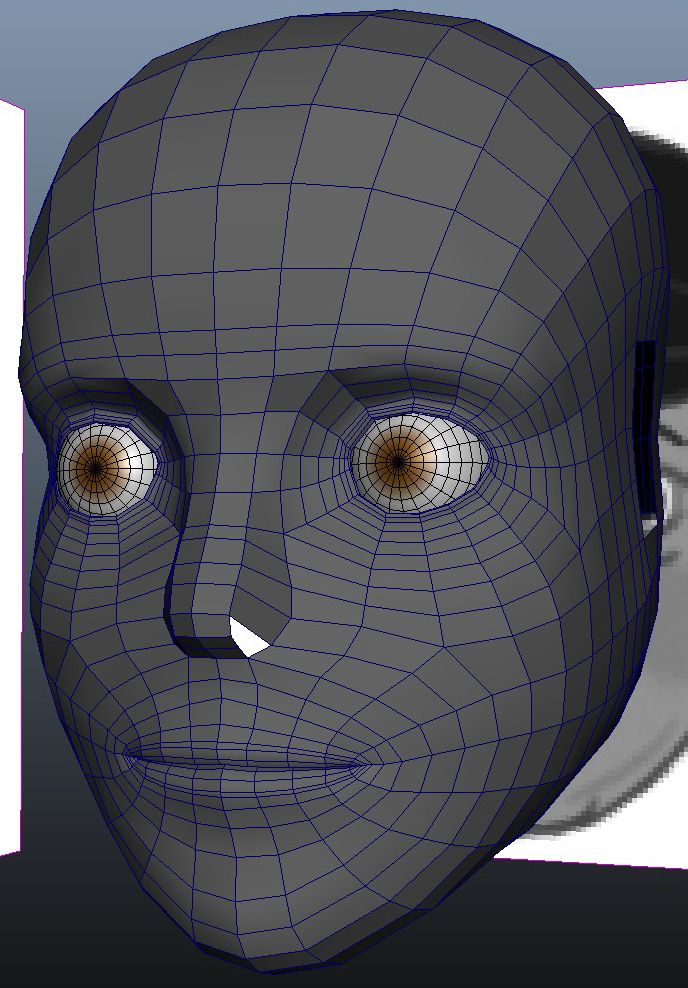
Unsmoothed

Smoothed

Saturday, 22 November 2014

Minor Project: Modelling Progress 22/11/14 - Defining the Eye

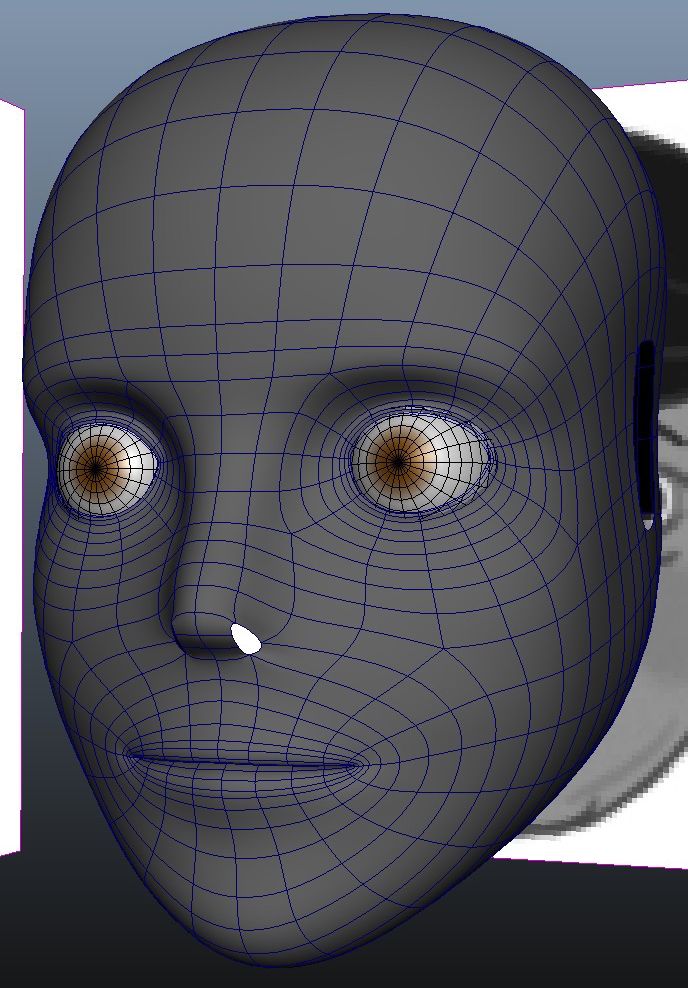
Now that Alan has adjusted and repaired the general layout of my mesh, I've began to define the eye.

The eye is getting there gradually, although it needs to be polished a bit. I think this may be best left until I've established the general appearance of the other facial features, otherwise I feel I may end up having particular features which don't sit well with the others, i.e. super refined eyes next to a soft and stylised nose.

The mesh is still pretty untidy, but at least the right loops are in the right places. I think some digital rhinoplasty is the next logical step.

Unsmoothed

Smoothed

Thursday, 20 November 2014

Minor Project: Modelling Progress 20/11/14 - Adjusting Franklin's Cranium

The overall construction of Franklin's head is more or less there now.

I've adjusted the overall shape of his cranium using a lattice deformer so that its all a bit more proportionally uniform, so it looks like I can move onto the refinements, most notably, the gaping void in the middle of his face just begging to become a nose.

I'm unsure of the spacing between the eyes, also. Although this may correct itself when the bridge of the nose and the eye socket are blended together a bit more.

Unsmoothed

Smoothed

Tuesday, 18 November 2014

Minor Project: Modelling Progress 18/11/14 - Revising the Topology

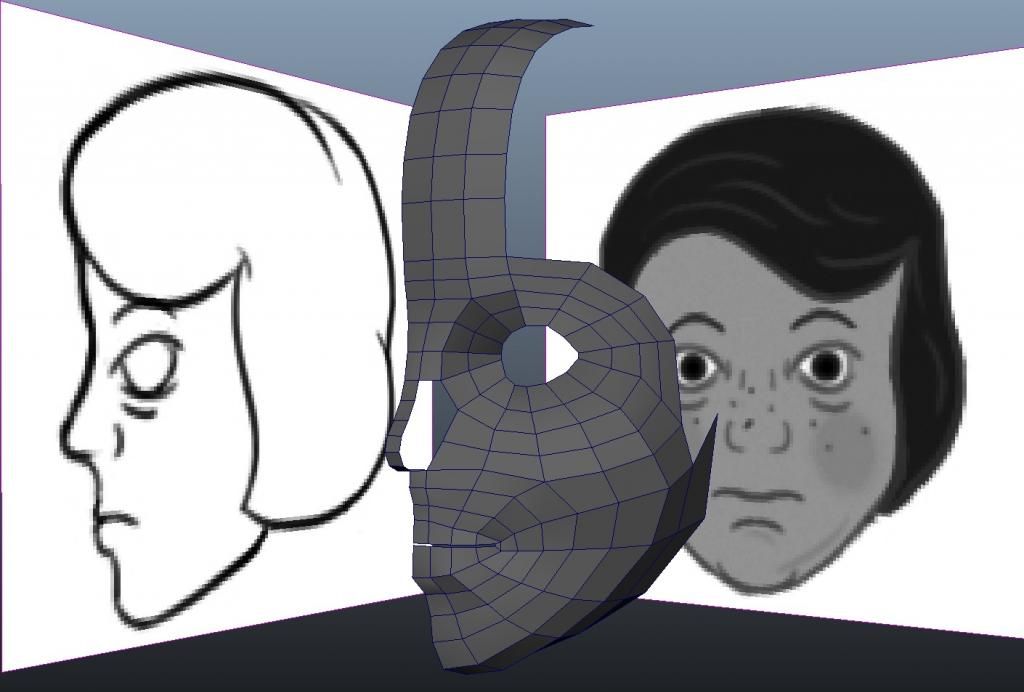
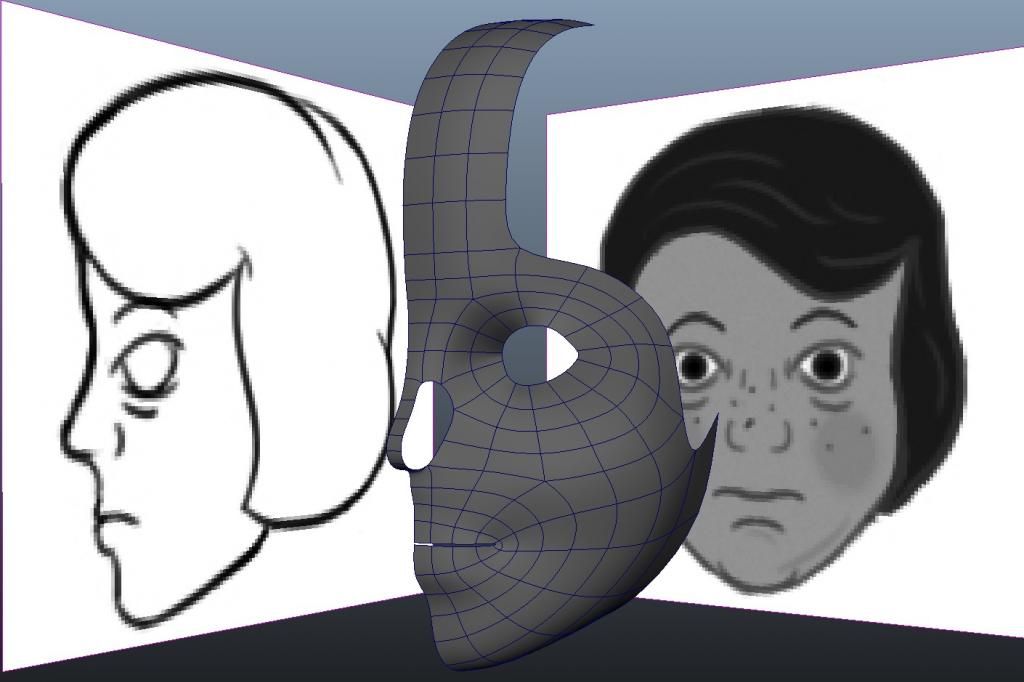
After receiving feedback on the topology of the eyes, I decided it would be simpler to completely restart the modelling of Franklin's head.

This time, the essential edge loops appear to be correctly placed, its now just a case of completing the general construction and finessing the details. 

Unsmoothed

Smoothed

Sunday, 16 November 2014

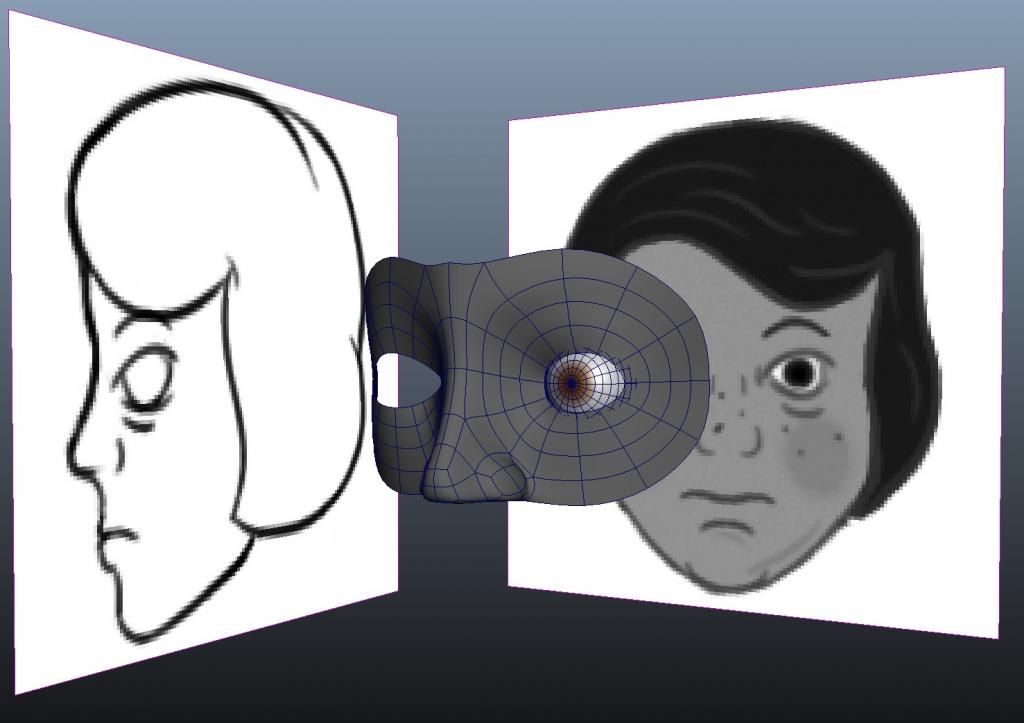
Minor Project: Franklin Modelling Progress 16/11/14 - Starting to Model the Head

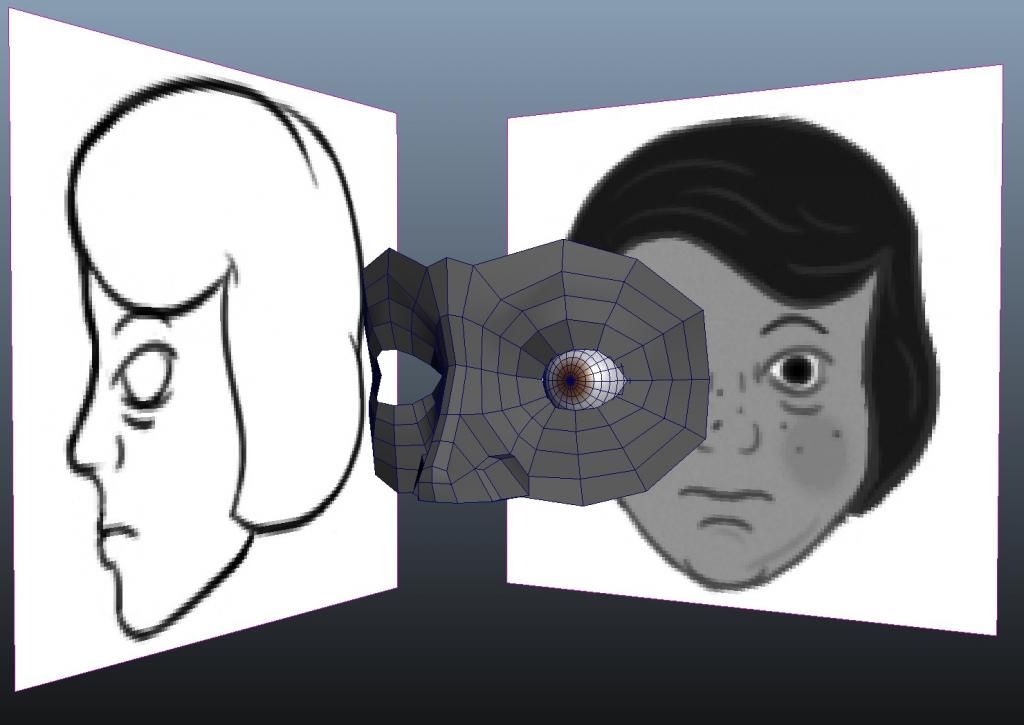
I've been tweaking the orthographic for Franklin this weekend, but in the meantime, I've started modelling Franklin's Head.

I've opted to use extrusion methods this time around, ensuring I get the appropriate topology from the outset. At this stage, I've yet to add definition to the brow line, cheeks or nose. That can wait until the necessary topology for the rest of the head is in place. 

Unsmoothed

Smoothed