Tuesday 31 March 2015

Major Project: Street Texturing Progress

The Street environment is more or less textured now. There are some little adjustments that need to be made, but overall, it appears to be coming together.

Some corners have been cut, such as the roof, which is simply a coloured lambert with a displacement map, as it will only be seen from a distance in very few shots.

All that remains is the lighting of the Street and the Hallway, and this should be ready to be tessellated animated within.


Friday 27 March 2015

Major Project: Cellar Lighting Experiments

Throughout the texturing process I've been experimenting with particular lighting setups.

Contrasting the fairly natural lighting of the Street and Hallway environments, I've drifted towards a Giallo/Argento inspired setup of vivid colours and heavy shadows.

This particular style adds a sense of theatricality and dread to the scene, as well as practicality in the sense of obscuring the background.

Not to mention that this style fits the period suitably, being that films such as Suspiria and Deep Red were released throughout the 1970s.

After the previous post, I chose to drop the Physical Sun and Portal Light in favour of a more theatrical setup of standard Maya lights (in this case, a Spot Light and a Point Light).

In terms of colour choice, the vivid red spot light works well, however the more purple light functions as something of a connective storytelling component as a result of its similarity to the hair dye used in the scene, as well as the stains on Franklin's clothing.

The blue fill light was chosen initially for it's common use as a colour representative of darkness in cinema. This works fine, although I found myself more drawn to the vivid purple fill light, as it serves the same purpose, yet amplifies the creepiness of the scene somewhat. However, this particular colour scheme is more reminiscent of the 1980s than the 1970s, so I may settle on a colour scheme that suits the period better instead.

Red Spotlight Through Window, Dark Blue Point Light
Red Spotlight Through Window, Dark Blue Point Light - Increased Intensity
Red Spotlight Through Window, Lighter Blue Point Light
Red Spotlight Through Window, Lighter Blue Point Light - Increased Intensity
Red Spotlight Through Window, Lighter Blue Point Light - Linear Decay Rate
Red Spotlight Through Window, Darker Blue Point Light - Linear Decay Rate
Red Spotlight Through Window, Darker Blue Point Light - Increased Intensity, Linear Decay Rate
Less Vivid Red Spotlight, Darker Blue Point Light - Linear Decay Rate
No Simulated Bounce Light from Mirror
Strong Simulated Bounce Light from Mirror
Mid Level Simulated Bounce Light from Mirror
Mid Level Simulated Bounce Light from Mirror, Simple Rim Lighting
Alternative Colour Scheme - Purple Spot Light Through Window with Green Point Light

Sunday 22 March 2015

Major Project: Cellar Progress 22/3/15

I've mainly been working on getting the Cellar environment together over the last few days. Whilst I have been modelling and UV mapping, my main focus has been establishing the lighting. 

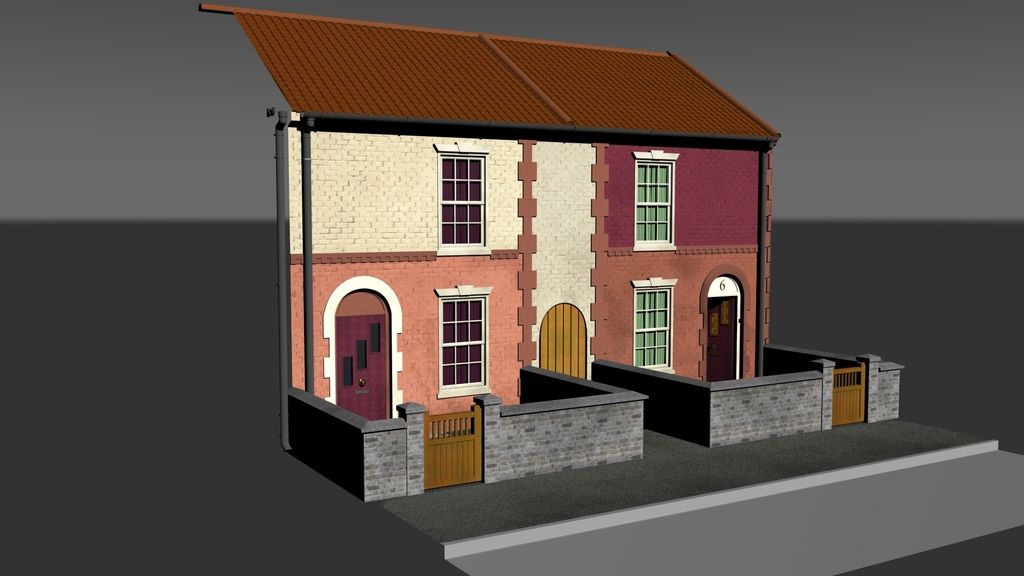
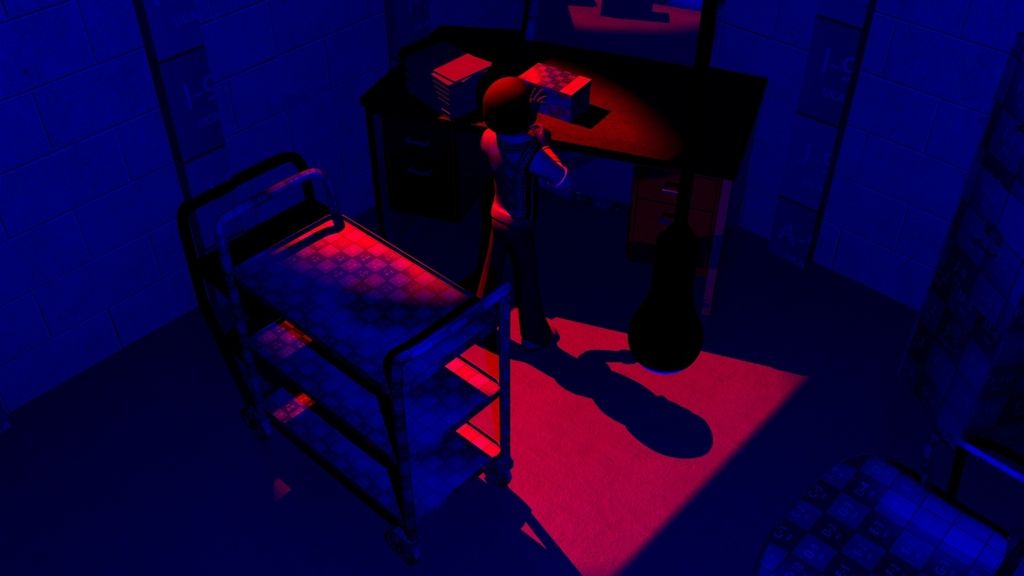
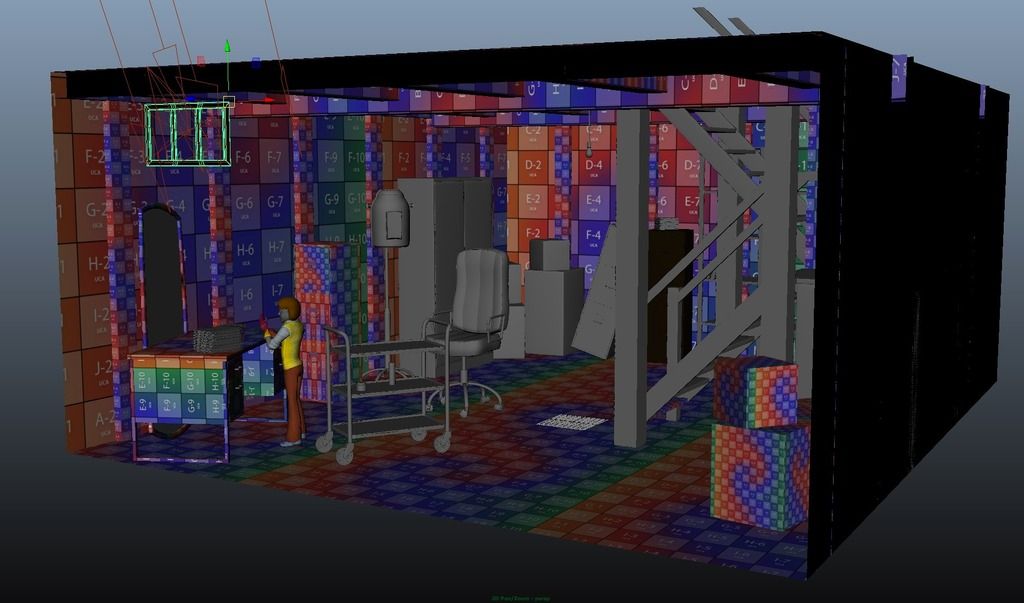
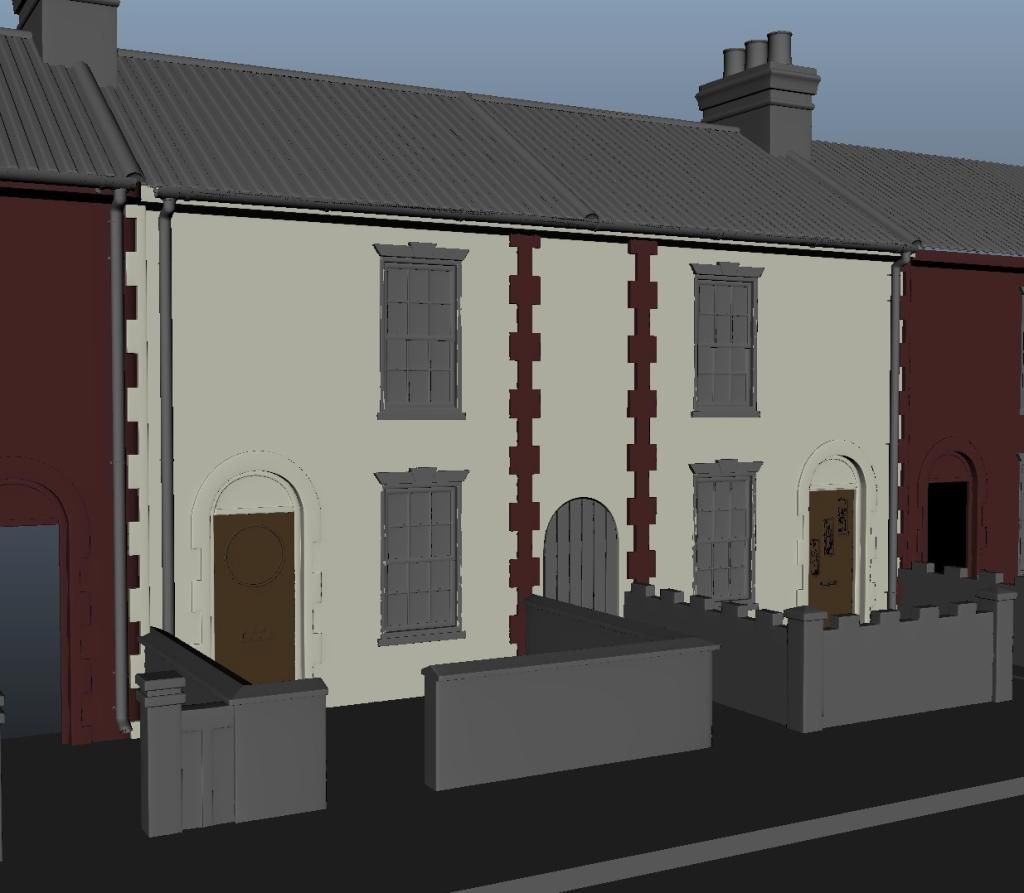
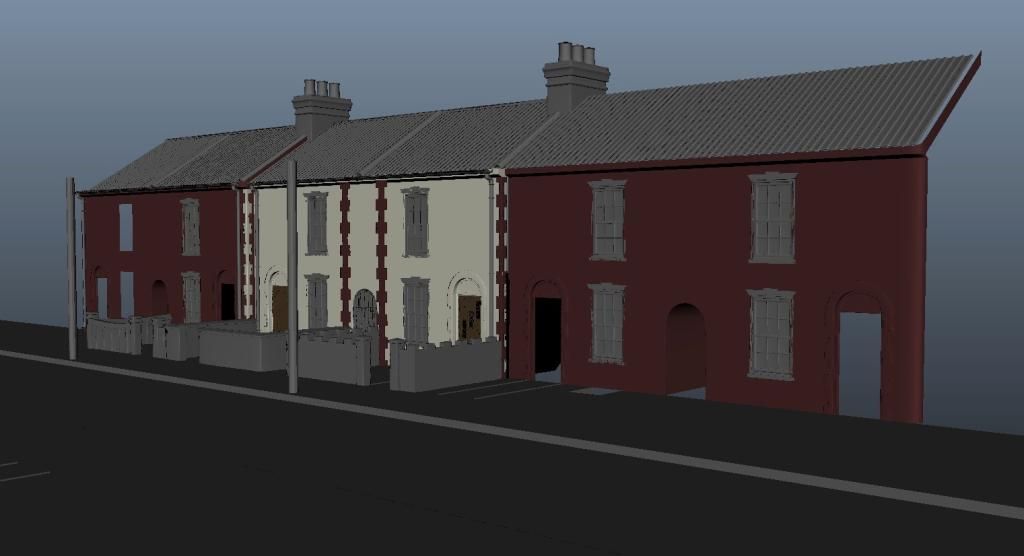
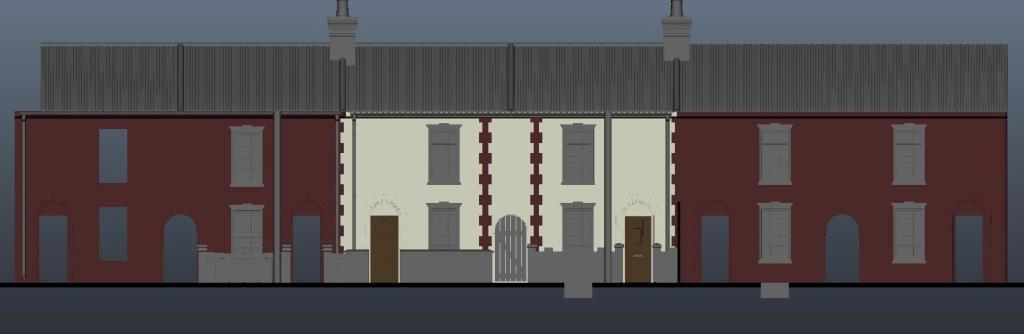
Modelling Progress So Far

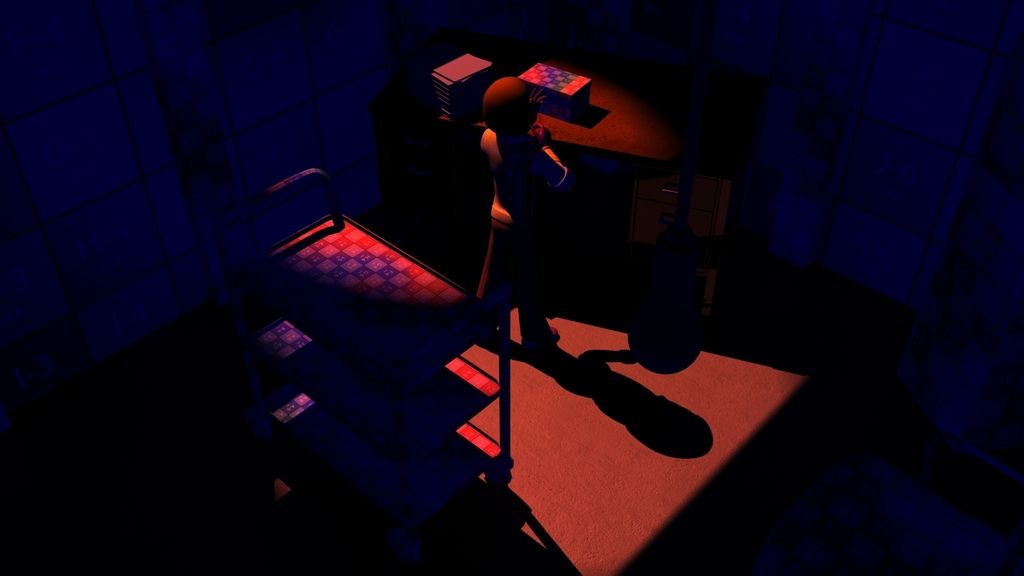
Once I've figured out how the bulk of the setting is going to be lit, I can determine the elements that will require a bit more development in terms of texturing. In the above image, the key objects are already in place, it's mainly set dressing to be completed now. 

The theory is, with the lighting focused at more or less one point, certain, non-'hero' background elements will only need a simple shader applied to help them blend into, but still convincingly sell, the environment. An example of this is the cardboard boxes in the corners of the room. They fill space, suit the setting, and will only require a basic shader to define what they are.

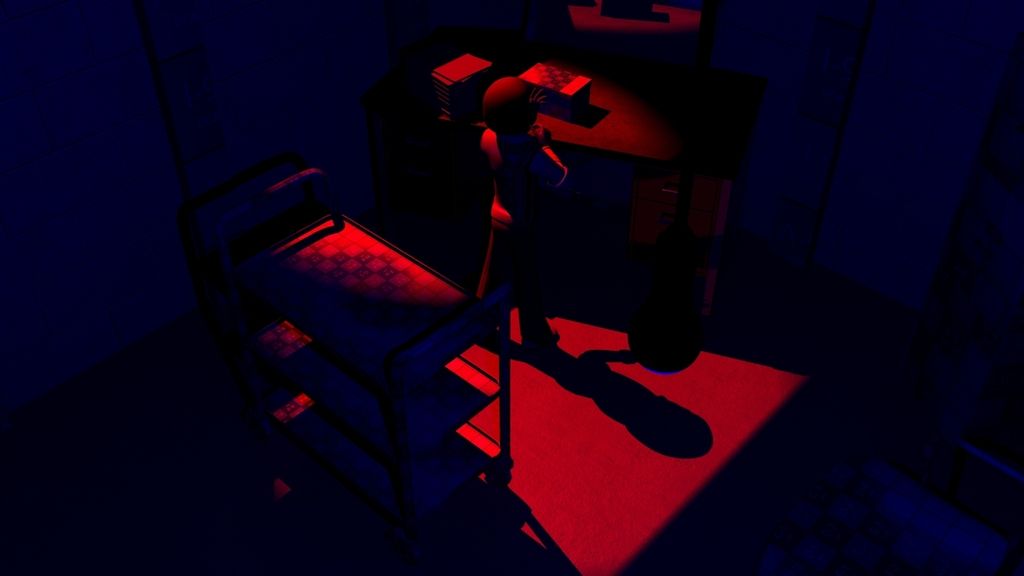
The shelving at the back of the room is only going to be shot through from within, and it is in a portion of the room that will receive minimal light so that can probably be sold with a simple, metalling shader also.

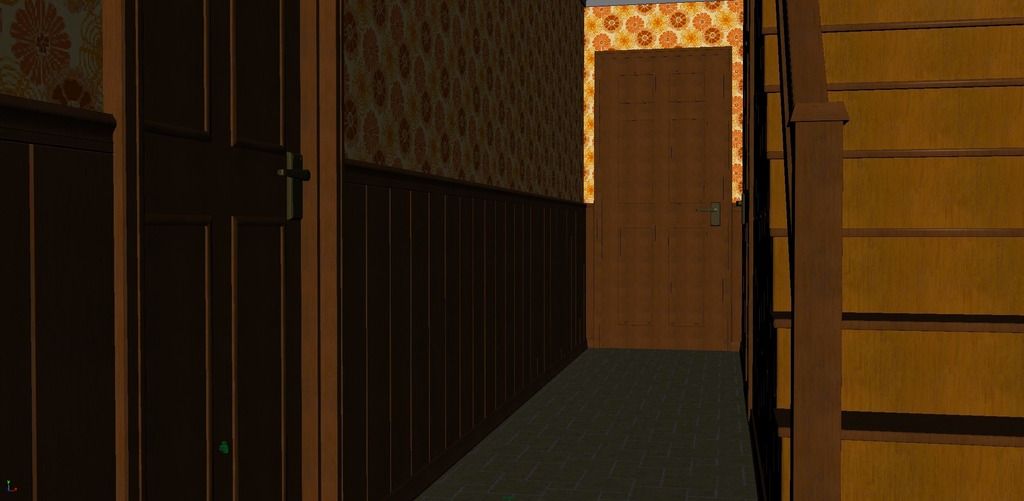
As for the lighting itself, I've been experimenting with alternative approaches to determine the most suitable setup both practically and cinematically. 

No Lighting Setup

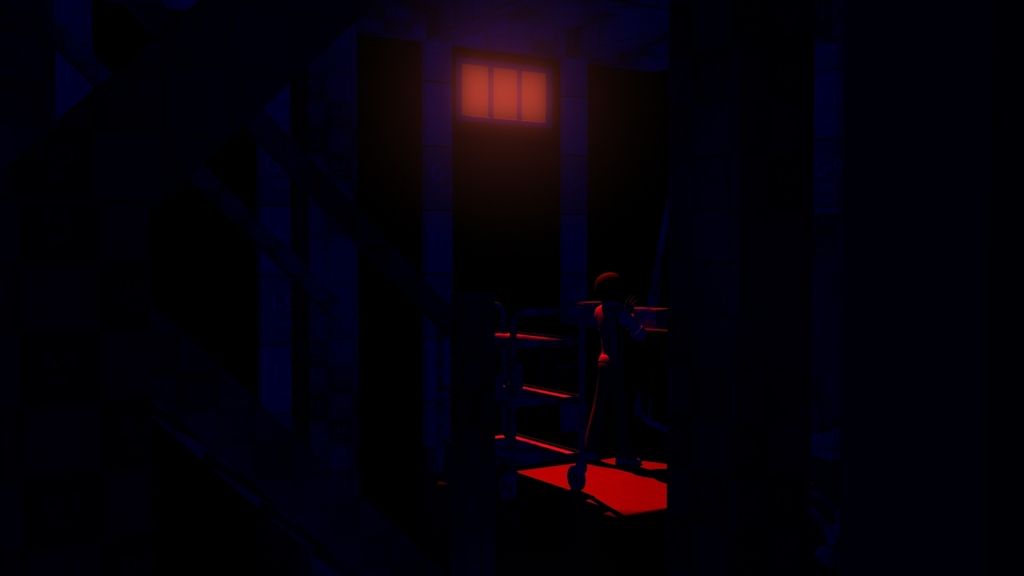
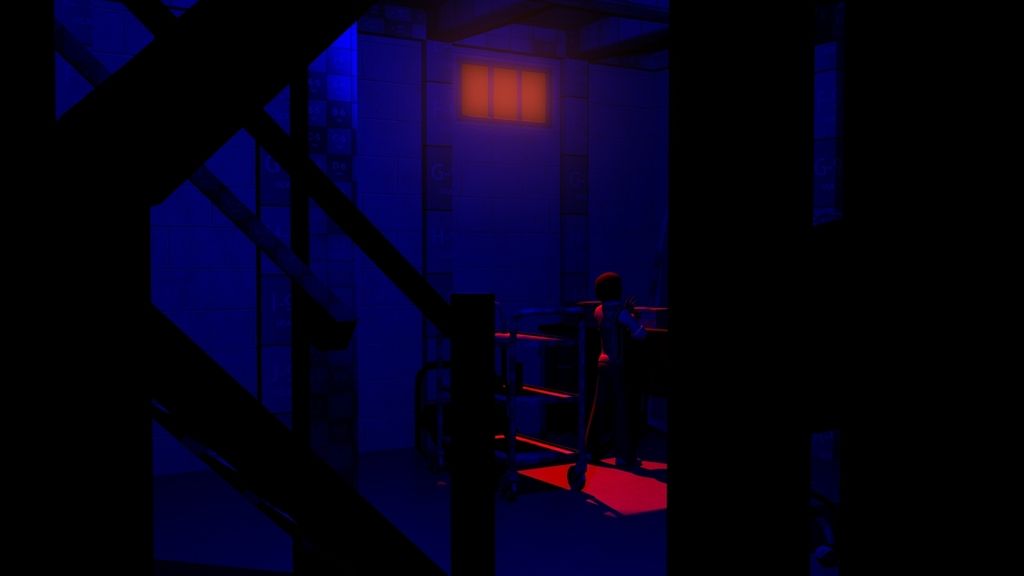
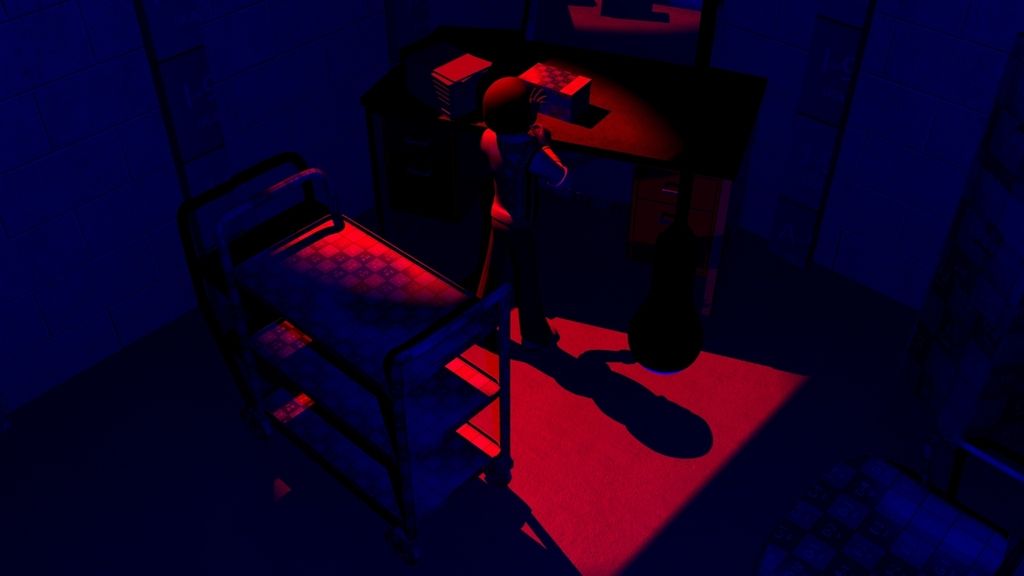
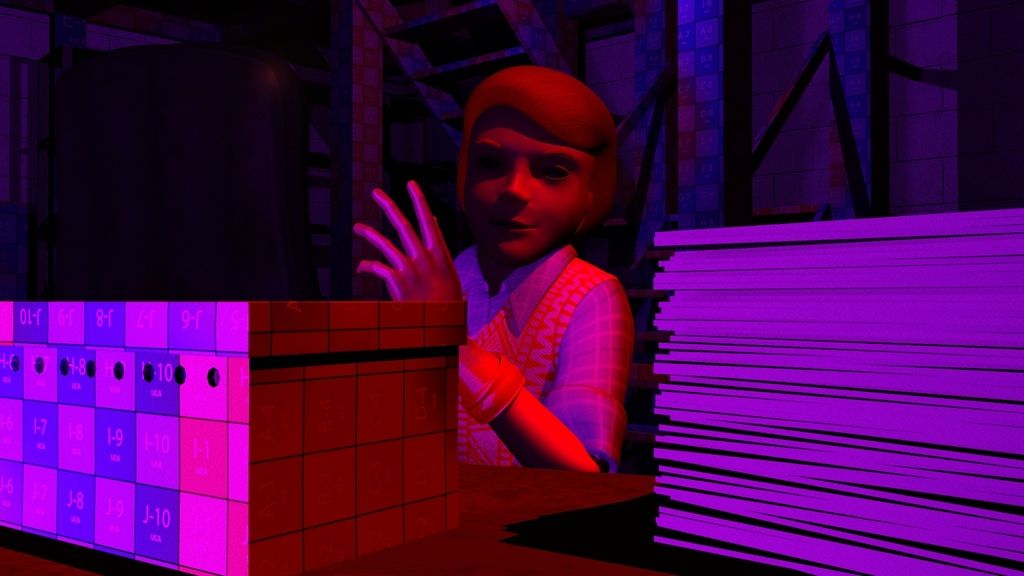
The following setup uses a simple spotlight positioned behind the window, with the exterior glow being sold by a simple surface shader on a plane. There is a lot of flexibility with this setup, and its fairly light in terms of rendering, but in this current state, it seems a bit too artificial. 

Lighting Setup Using a Single Spotlight

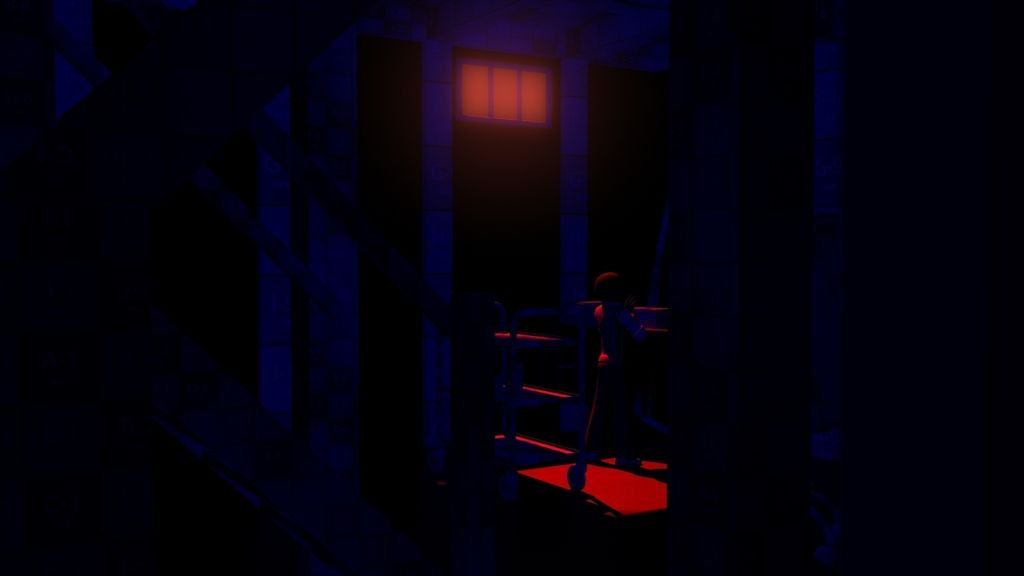
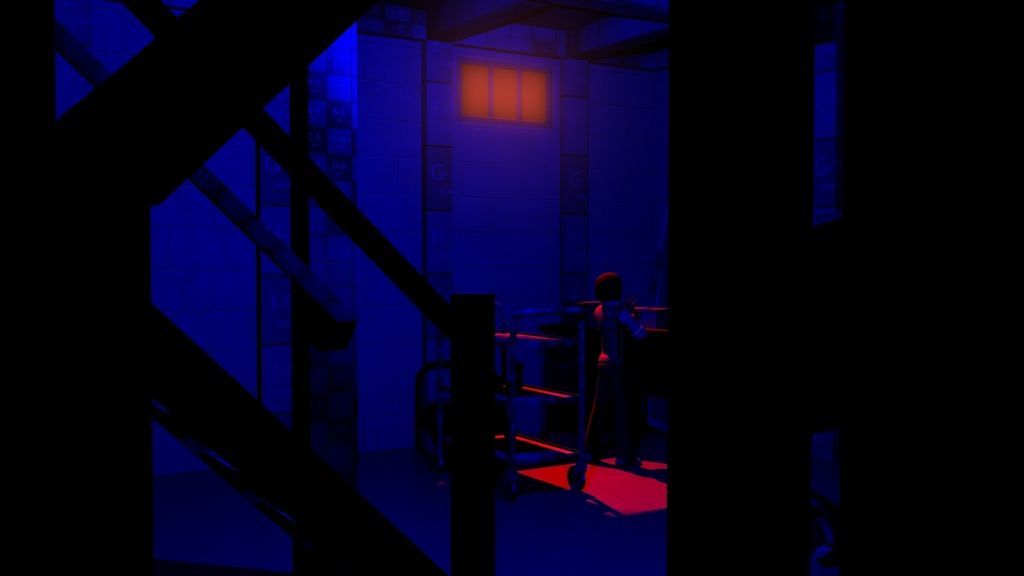
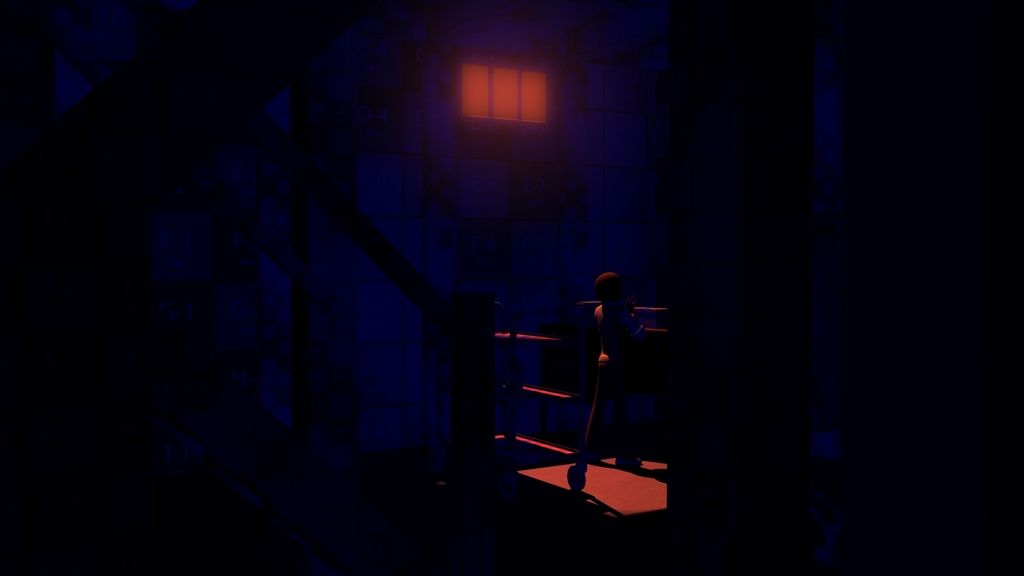
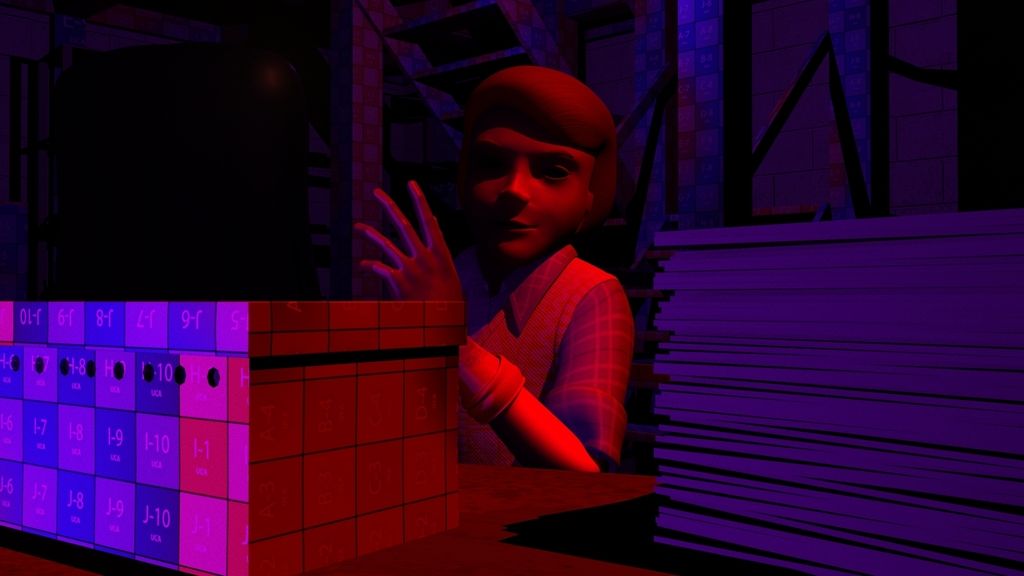
This setup uses the Mental Ray Physical Sun and Sky, with a Portal Light behind the window to provide a far more natural and realistic outcome. Whilst I like how this authentically emulates how the light would respond in this scenario, it's flexibility is somewhat limited. Whilst I could employ lighting elsewhere to help direct focus around the scene, once you introduce an element of reality you're kind of committing to the rules of reality it brings along with it. Not to mention this particular method really knocks up render times with every little adjustment.

Lighting Setup Using Mental Ray Physical Sun and Sky, with a Portal Light at the Window

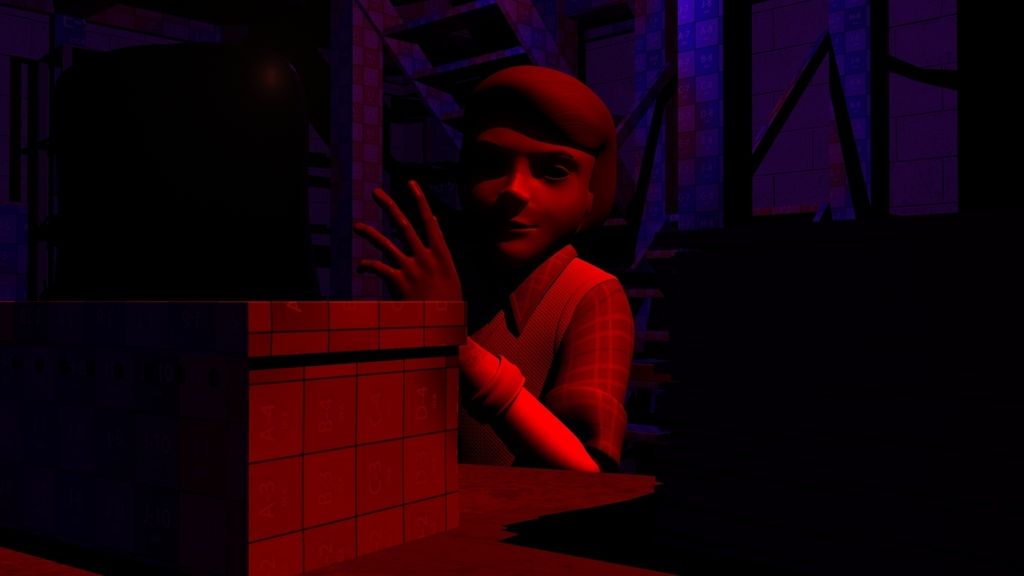
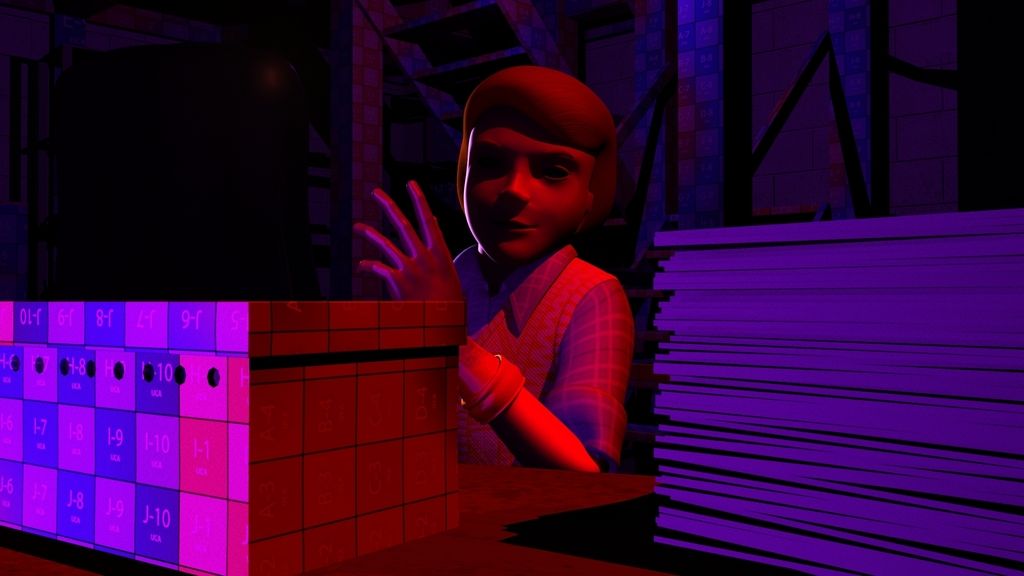
At this stage, both lighting setups are unrefined, however I feel as though there are aspects of both that would be beneficial. I'm going to need to tinker a bit more with both setups to achieve the sort of outcome I'm after.

Friday 20 March 2015

Major Project: Street and Hallway Modelling Progress 20/3/15

The Street and Hallway environments are more or less completely textured now, although there are still some elements that need refining, such as the garden wall in front of the house and the cleanliness of the textures needs to be disturbed to help certain areas of the building look more natural and less polished.

Originally, the walls, windows and doors were going to be unique to each house, however, in order to get animating as soon as possible, these assets will be reused for the time being. The lighting needs to be refined also. Currently, the exterior is being lit by a Mental Ray Physical Sun, with the interior being lit by a simple Point Light. They appear to be serving their purpose, however the tonality of the light needs to be adjusted to make it more in keeping with 1970s setting.

As for the Cellar environment, the modelling is 90% complete, with the major assets complete and ready to be textured. Luckily, the dark lighting in the environment allows me a certain amount of licence when it comes to the texturing of many of the background assets. I plan to be animating fairly soon, providing there are no substantial hiccups in the production progress over the next week.

House Texturing Progress

House Test Render

Hallway Texturing Progress

Monday 9 March 2015

Major Project: Environment Modelling Progress 9/3/15

The bulk of the exterior environment is now complete. The overall appearance of these houses has been influenced by the terraced houses around Maidstone and Chatham, using Google Street View and my own photographs to determine a simple design that was reminiscent of the setting.

Once the UV mapping is complete, the houses will be tessellated to create the street. Most of the components have been UV mapped as they've been modelled, just a few smaller parts remain. 

Smaller elements of set dressing will be added once the bulk of the Cellar environment is complete, as I intend to reuse objects suitable for both environments to economise modelling somewhat (objects such as bins, plant pots, etc).

I have also connected the Hallway environment to the front door of Franklin's house, and configured the environment in a way that allows me to selectively switch portions of scenery on and off to help take the strain off of Maya when animating and rendering.

The environment looks void of any physical texture at the moment, although this will be rectified through the use of bump and displacement maps. It would be wildly impractical to model each brick and roof tiles, as well as distortion in brickwork on the garden walls, so the maps will be used to sell the texture of the environment. Only key architectural details, such as the details on the corners, have been modelled.

With the bulk of the first two environments complete, I will move onto completing the Cellar environment. All three environments will be polished and refined in unison, allowing me to texture them together.

Franklin's Home

Demonstrating How the Houses Tessellate

The Front Profile of the Houses

The Interior and Exterior Environments Connected

Sunday 1 March 2015

Major Project: Pre-Vis Scenes One and Two

Below is the pre-vis for the first two acts of Franklin. This particular edit is scarce of audio in most of the second act, simply because I had yet to get around to adding it, but visually, its fairly robust.


The third act is yet to come, although it is so short, it'll be included very soon.

With this more or less out of the way (other than the final act), I can move onto primarily constructing the remaining environments.